Our bathroom looked dated, but a full renovation wasn’t in the budget. Instead of replacing the tile, I focused on affordable upgrades that made a big difference. With about $400, I updated the space through a series of simple DIY projects. Here are the seven changes that transformed the bathroom, along with the lessons I learned along the way.

1. Swapped the Light Fixture First
If you’re planning a budget bathroom makeover, start with the lighting.
Many decorating guides mention that lighting matters, but they rarely explain why it should come first. The light in a room affects how every paint color, fixture, and finish looks. Changing it early helps you make better decisions for everything that follows.
Our bathroom had a standard builder-grade light bar with four globe bulbs that cast a harsh yellow glow. One Saturday afternoon, Mark replaced it with a brushed nickel three-light vanity fixture from Home Depot that cost $74.
The bulbs made just as much difference as the fixture itself. We installed warm-white 2700K LED bulbs at 800 lumens each. Compared to the cool 4000K bulbs left behind by the previous owners, the room immediately felt warmer and more inviting.
If your budget is tight, start with the bulbs. A pack of warm-white LEDs costs around $12 and can dramatically improve the feel of the room.
What Went Wrong
My first choice was a matte black fixture I ordered online. Unfortunately, it arrived with a cracked glass shade. Although the company sent a replacement, the process took almost two weeks. After that experience, I bought the final fixture in-store so I could inspect it before bringing it home.

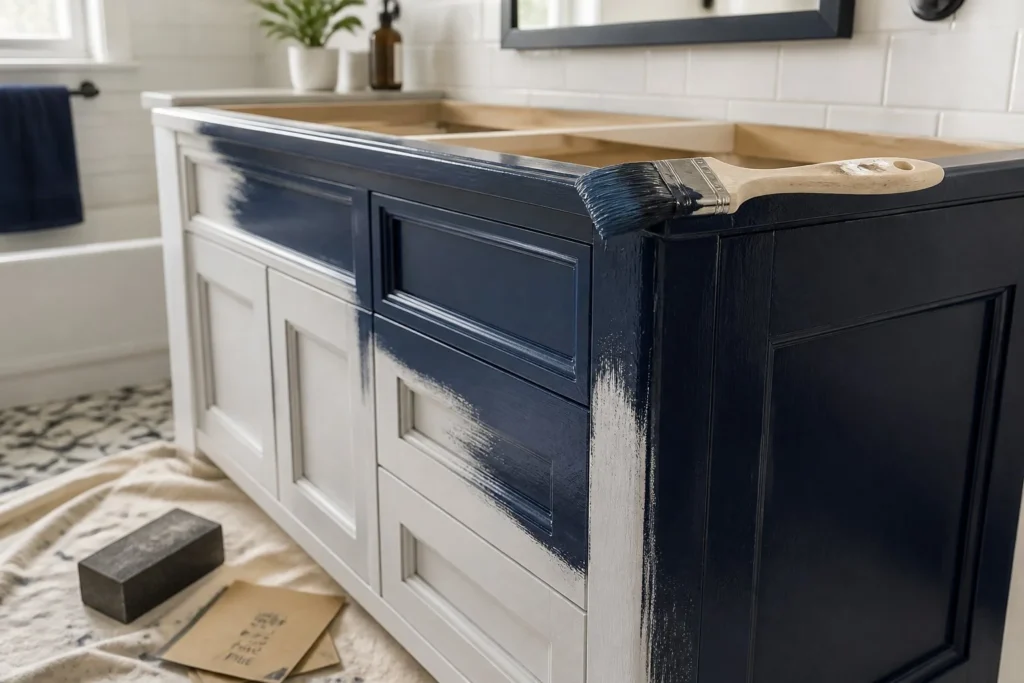
2. Painted the Vanity Cabinet
The cultured marble vanity top stayed because it was in good condition and replacing it wasn’t part of the budget. The honey-oak cabinet underneath, however, looked dated and instantly aged the room.
Painting it created one of the biggest transformations in the entire makeover.
What Actually Worked
At first, I skipped primer and applied leftover satin latex paint from another project. Within a few weeks, the paint started peeling around the corners and edges.
I sanded everything back down and started over with a bonding primer from Lowe’s and Benjamin Moore Advance paint in Hale Navy. That combination worked beautifully and has held up well ever since.
The deep navy color gave the vanity a custom look and paired surprisingly well with the beige countertop.
Including brushes, sanding sponges, primer, and paint, I spent about $52 on the project.
Budget Alternative
If painting feels like too much work, peel-and-stick contact paper can provide a quick refresh. It won’t last as long as paint, but it’s affordable, easy to install, and available in a wide range of colors and finishes.
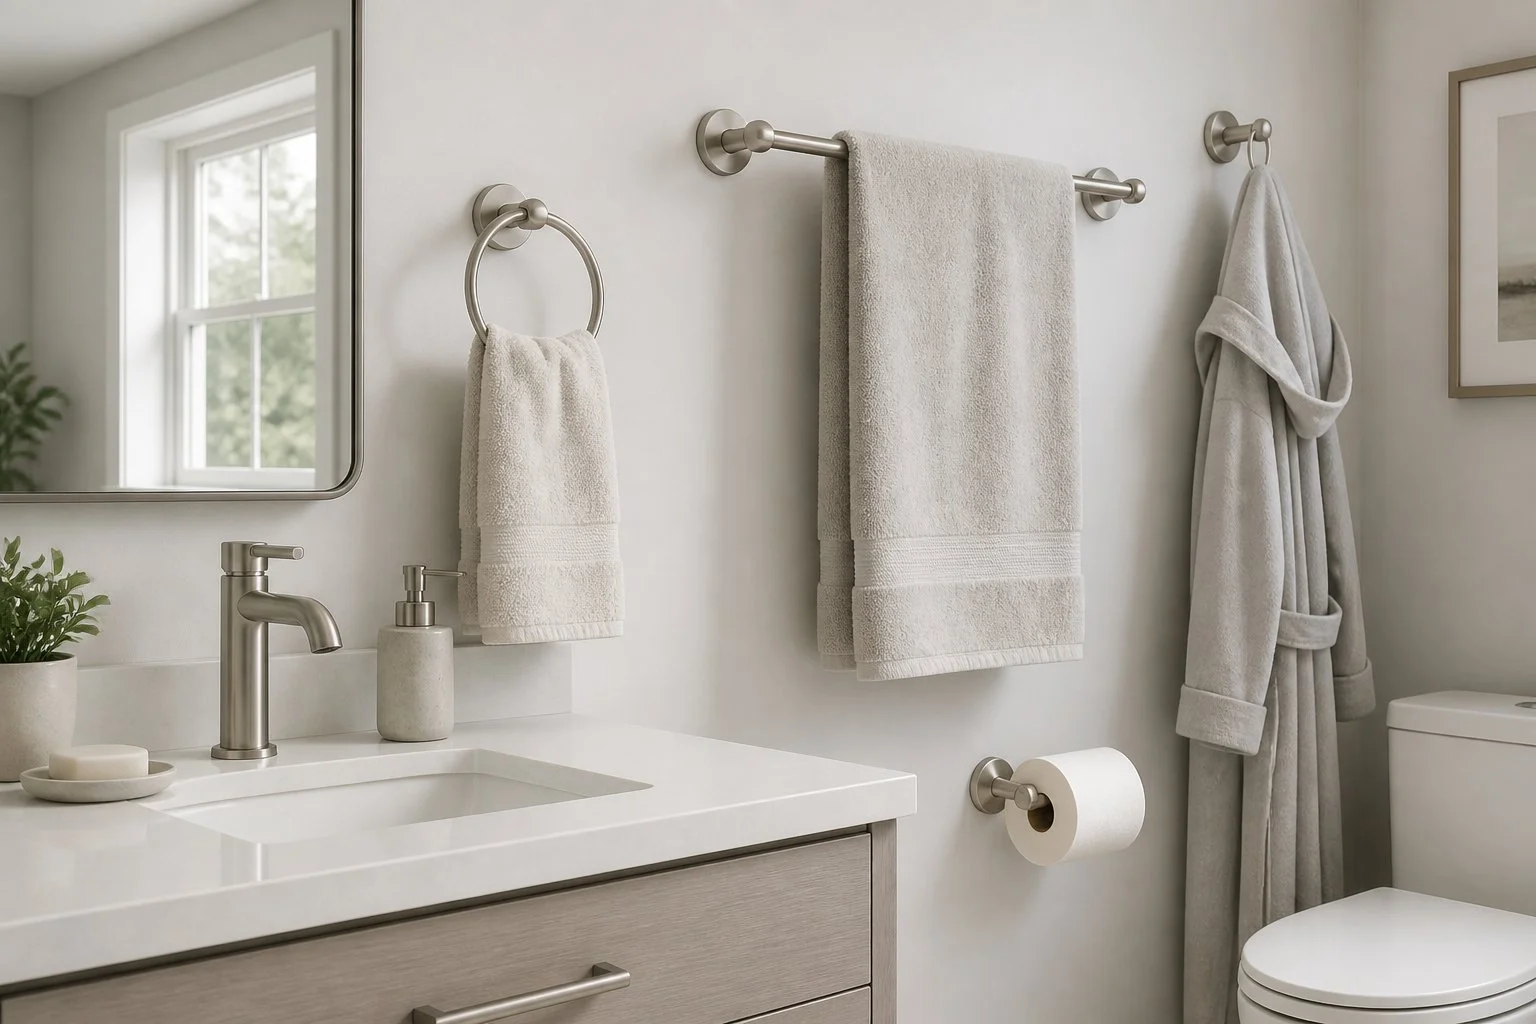
3. Replaced All the Hardware at Once
A mix of finishes can work when it’s intentional. Ours wasn’t.
The bathroom had brass cabinet pulls, a chrome towel bar, a satin nickel toilet paper holder, and the original brass faucet. The combination looked random rather than coordinated.
Instead of replacing pieces one at a time, I updated everything together.
I purchased a matching brushed nickel hardware set that included a towel bar, towel ring, toilet paper holder, and robe hook for $38. Then I added a brushed nickel faucet for about $65.
The entire installation took one afternoon, and the room instantly looked more cohesive.
Budget Alternative
If you can’t replace everything, focus on the towel bar and toilet paper holder first. Those are often the most noticeable pieces in a small bathroom.

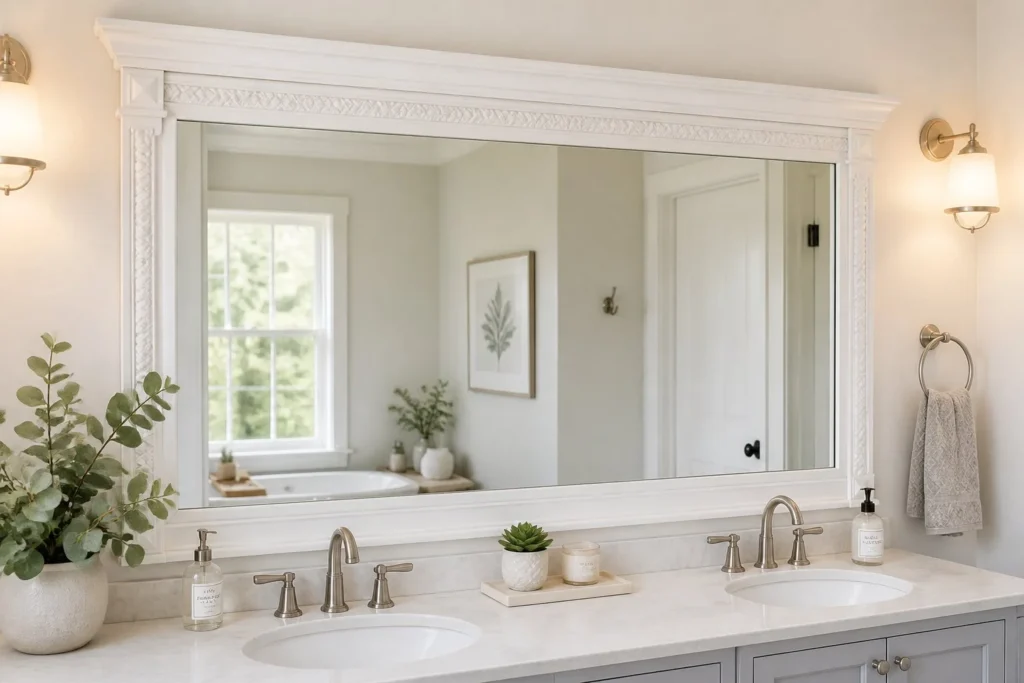
4. Added a Frame Around the Builder Mirror
Like many builder-grade bathrooms, ours came with a large frameless mirror glued directly to the wall.
Removing it would have risked damaging the drywall, so I chose a simpler solution. I built a frame around the existing mirror using painted poplar boards from Home Depot.
The materials cost about $28, and the finished frame made the mirror look far more custom.
What Went Wrong
My first set of miter cuts didn’t line up correctly, which meant another trip to the store and another set of boards. The finished frame still has one slightly imperfect corner, but a little caulk made it far less noticeable.
If DIY projects aren’t your thing, a pre-framed mirror can deliver a similar look with much less effort.
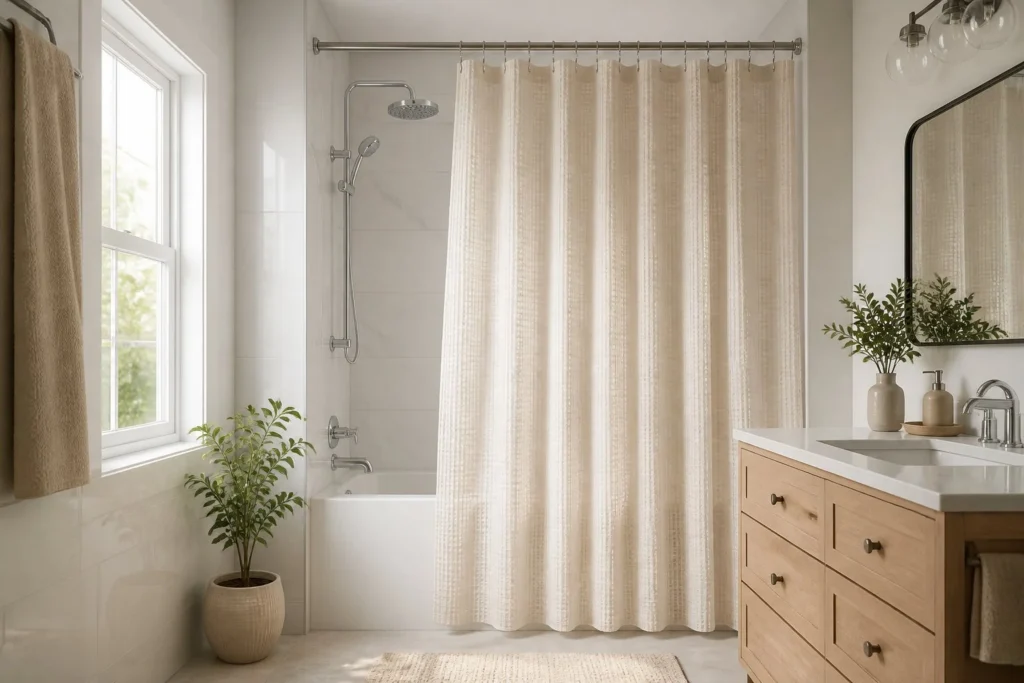
5. Replaced the Shower Curtain and Liner
This was the easiest and most affordable upgrade in the entire makeover.
The old curtain had faded over time, and the liner had clearly reached the end of its life. Replacing both immediately made the bathroom feel cleaner and brighter.
I chose a warm-white waffle-weave shower curtain and paired it with a new PEVA liner. Together they cost less than $40.
I also upgraded the curtain rings, which helped tie the entire room together.
For the amount of visual impact it provides, this is one of the best budget bathroom upgrades you can make.
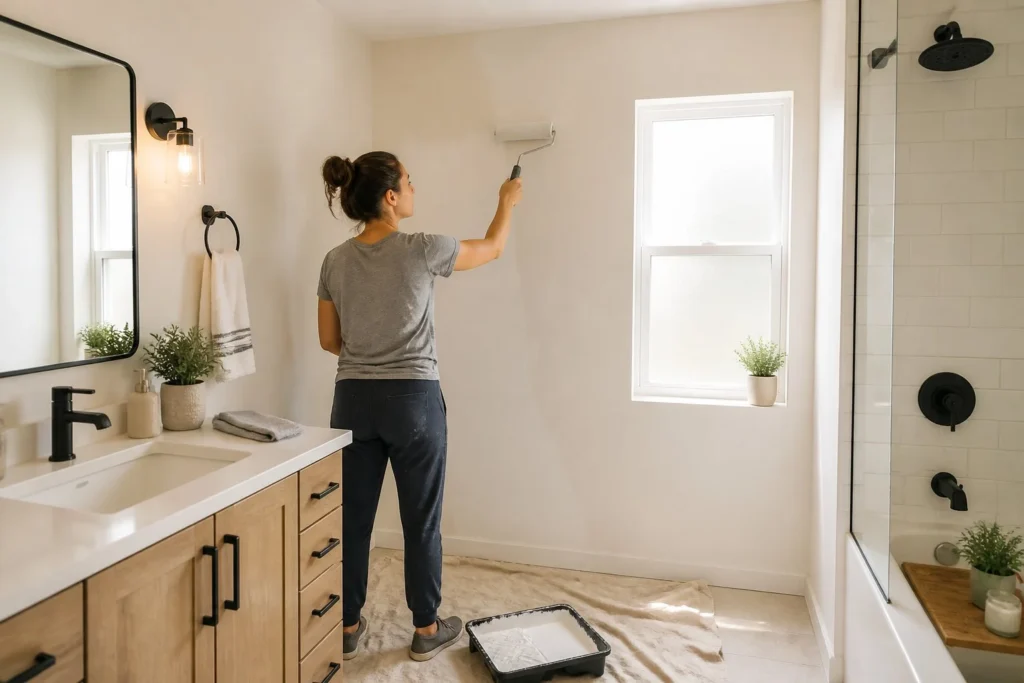
6. Repainted the Walls
Once the vanity and lighting were updated, the existing wall color looked dull and muddy.
I repainted the room in Sherwin-Williams Alabaster, a warm off-white that brightened the space without feeling stark.
Because bathrooms deal with constant moisture, I used a paint formula designed specifically for high-humidity environments. The extra cost was worth it for the added durability and mildew resistance.
After two coats, the room felt cleaner, brighter, and much more modern.
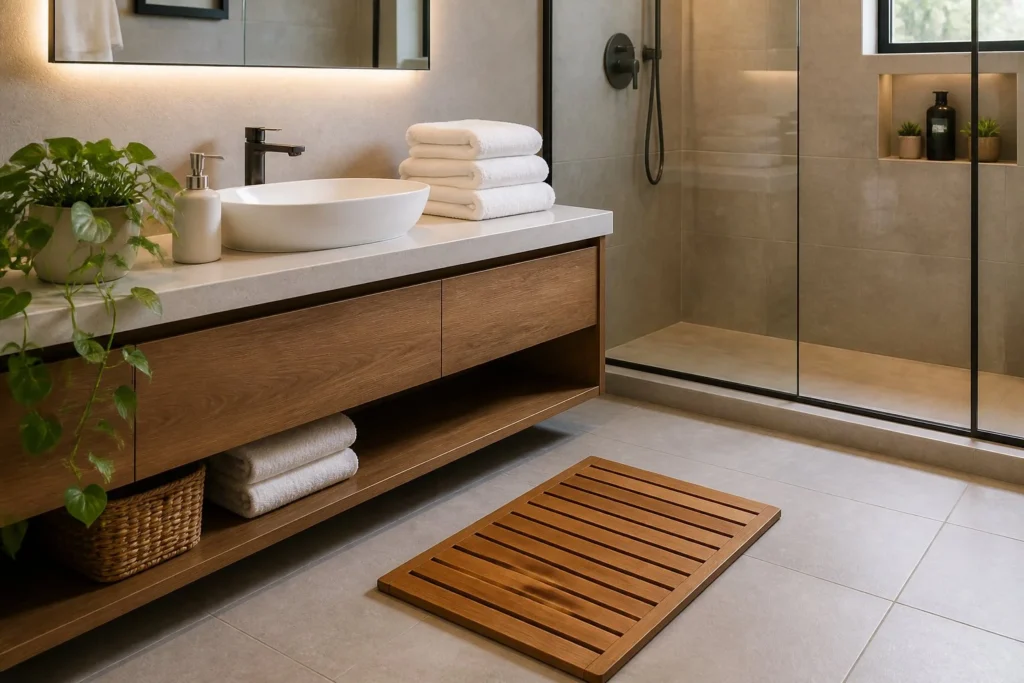
7. Added Accessories Last
Many people start decorating with accessories. I prefer to finish with them.
New towels and soap dispensers won’t solve a bathroom’s bigger design problems. However, once the major updates are complete, those small details can make a room feel finished.
I added a teak bath mat, a ceramic soap dispenser, fresh white hand towels, and a small pothos plant in a thrifted pot.
None of these items were expensive, but together they added warmth and personality to the room.
What I’d Do Differently
Looking back, I would spend money in a different order.
I bought accessories too early and ended up replacing some of them after changing the vanity color. If I did this project again, I would focus on lighting, paint, hardware, and fixtures first. Accessories would come last.
I would also check local reuse stores before buying new fixtures. Many Habitat for Humanity ReStores carry quality faucets, lights, and hardware at a fraction of retail prices.
As for the mirror frame, I’m glad I tried it, but I probably would have purchased a ready-made mirror instead. Sometimes the time and frustration involved in a DIY project outweigh the money saved.
Final Thoughts
A budget bathroom makeover doesn’t require replacing tile, moving plumbing, or spending thousands of dollars. Small upgrades can dramatically change how a bathroom looks and feels.
By focusing on lighting, paint, hardware, and a few thoughtful finishing touches, I transformed a dated builder-grade bathroom for less than $400. More importantly, I created a space that feels comfortable, intentional, and much more enjoyable to use every day.
