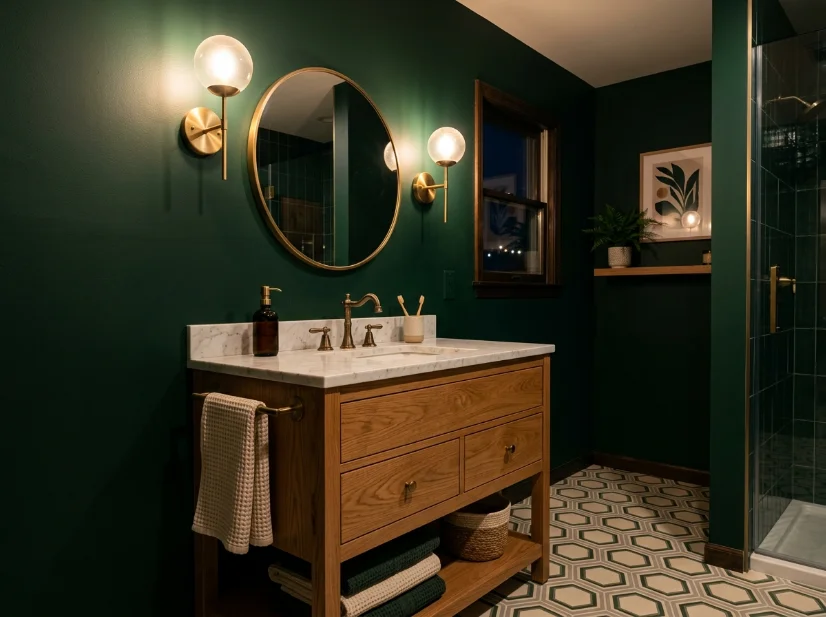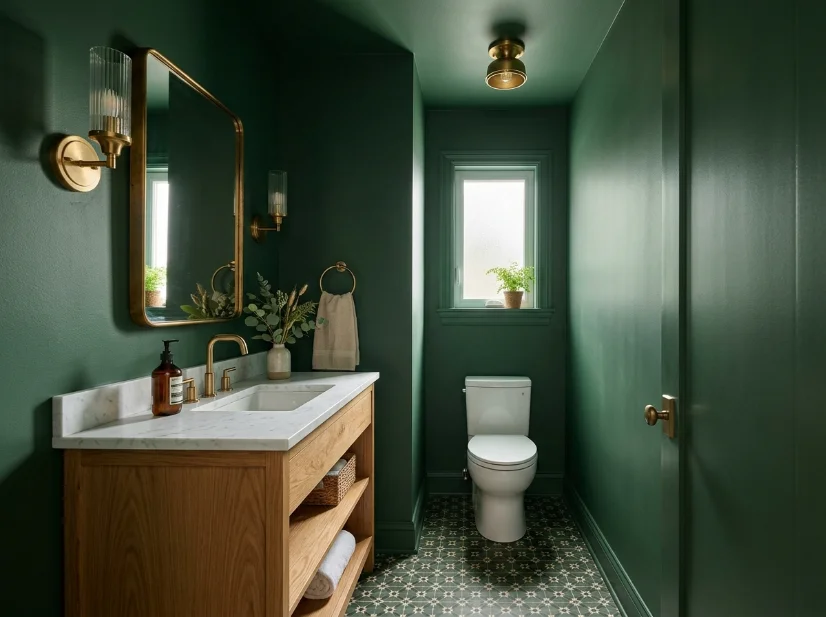
I didn’t plan to try the color drenching trend in our house. I just got tired of looking at the builder-grade oak vanity in our half bath and wanted a change that didn’t involve replacing everything. So I bought paint and decided to cover almost every surface in the same color. The walls, ceiling, trim, and even the vanity all became part of the plan. That simple decision completely changed the room. Our half bath is only 5×7 feet, has one small window, and still has plenty of late-90s builder details. Before this project, it felt dated and disconnected from the rest of our home. Afterward, it felt intentional and much more finished. If you’re curious about color drenching but don’t want to risk a large room, a powder room is a great place to start. Here’s what I learned from actually doing it, including the parts that went wrong.
Why the Color Drenching Trend Works So Well in Small Bathrooms
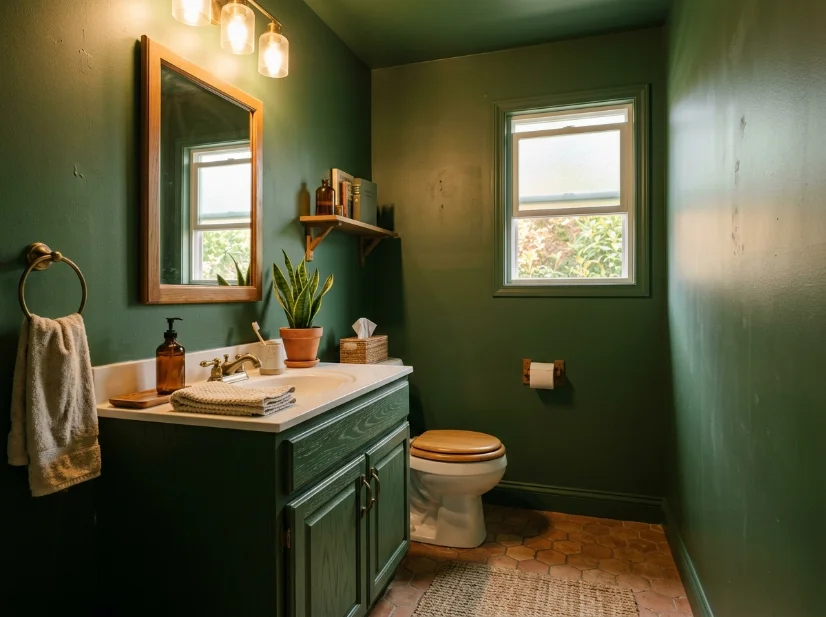
A half bath is one of the easiest places to experiment with paint. The room is small, the project is manageable, and you don’t need a huge amount of paint. More importantly, color drenching can make a small bathroom feel more cohesive. When the walls, trim, and ceiling share the same color, there are fewer visual breaks. Your eye moves around the room instead of stopping at every change in color. That helped our tiny bathroom feel less like a chopped-up box.
I chose a deep, warm green because I wanted to work with our existing oak vanity instead of replacing it. The warm undertones of the green worked better with the slightly orange wood than a cool blue-green would have. I also liked that the darker shade gave the room some personality without requiring new fixtures.
You don’t have to go this bold, though. A soft greige, warm beige, muted clay, or dusty green can create the same overall effect. If you’re nervous about saturated color, start with a shade you already love on your walls and extend it to the ceiling and trim.
Picking a Color That Won’t Fight Your Fixtures
The biggest mistake you can make with color drenching is choosing the paint color without considering the things that are staying in the room. Before picking a shade, look closely at your tile, vanity, countertop, flooring, hardware, and light fixtures. Those colors are going to affect how your paint looks.
Our oak vanity has a noticeable orange undertone, so I avoided greens with strong blue undertones. They looked fine on their own, but they made the wood look even more orange under our bathroom lighting.
I bought five sample pots and painted each color onto a large piece of poster board. Instead of judging them once, I moved the boards around the bathroom throughout the day. The room gets limited natural light, so the colors changed quite a bit from morning to evening. One green that looked soft during the day looked almost black under the warm bathroom lights.
If five samples feel excessive, test two or three strong contenders first. Large sample boards are useful because you can move them around the room and compare the color against your actual fixtures.
The Ceiling Is the Part People Skip, and Shouldn’t
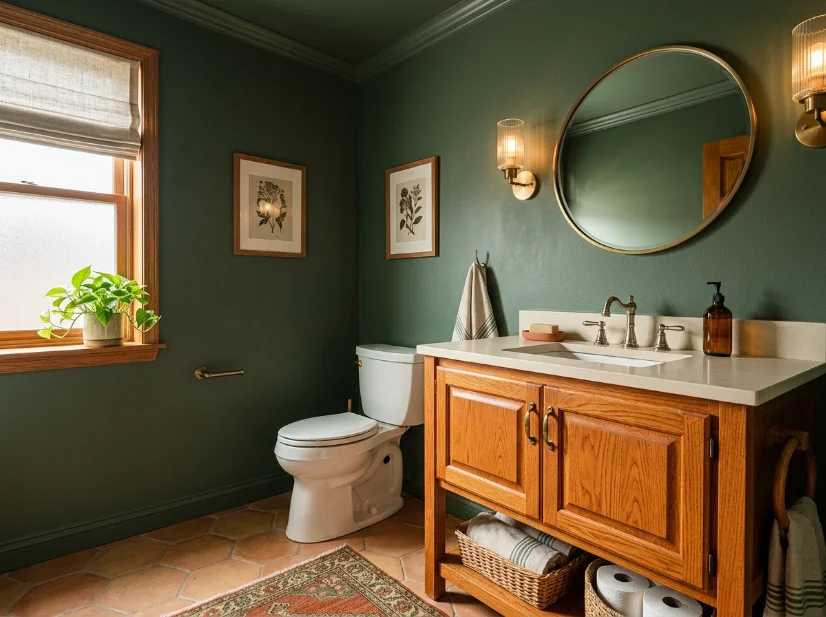
Painting the ceiling the same color as the walls was the detail that made the biggest difference. Before the project, the white ceiling created a strong visual line across our already-short 8-foot ceiling. Once I painted it green, that hard line disappeared.
The room immediately felt more connected. Instead of seeing a wall, a ceiling, and separate pieces of trim, I saw one continuous color envelope.
I used a paint-and-primer-in-one to keep the project manageable. That saved me from adding a separate primer step, which mattered because I was working around family schedules and didn’t have an entire weekend to spend in a half bath.
I did make one adjustment, though. I used a matte finish on the ceiling and a scrubbable eggshell finish on the walls. Both were the same color, but the different sheens helped the surfaces perform better. Bathroom walls need to handle more cleaning, while the ceiling doesn’t need the same level of durability.
Trim: Match It or Let It Stand Out
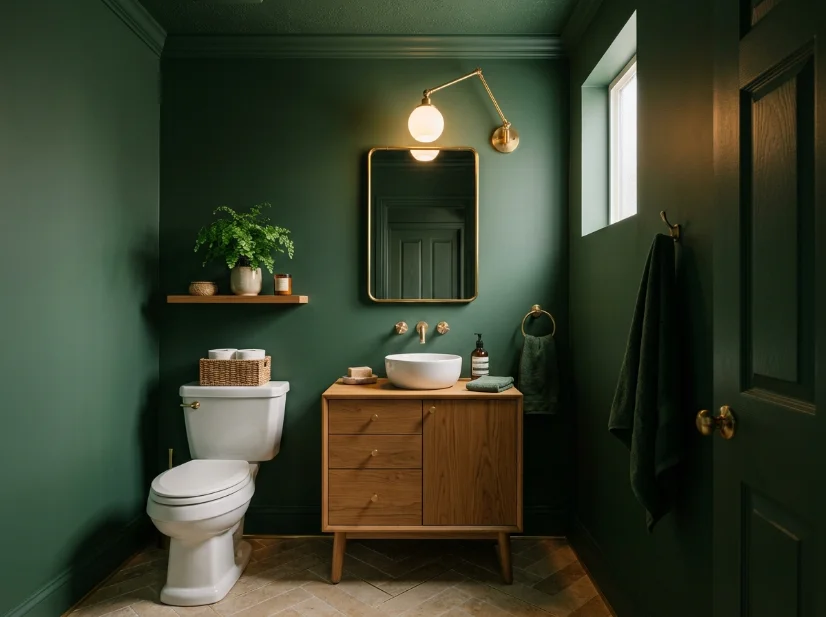
When you’re color drenching a room, the trim gives you another decision to make. You can paint it the same color as the walls, or you can leave it white for contrast.
I chose to match our trim because I wanted the full effect. It made the room feel more enveloping and helped hide some of the builder-grade details. It also took longer than I expected.
Our trim has small grooves that caught drips and required careful brushing. I also used more painter’s tape than I had planned. If your trim is smooth and simple, you’ll probably have an easier time.
If repainting every piece of trim sounds like too much work, leave it white. Painting the walls and ceiling the same color still creates a strong color-drenched look. It’s also a good option if you’re testing the trend for the first time.
The DIY Part That Went Sideways
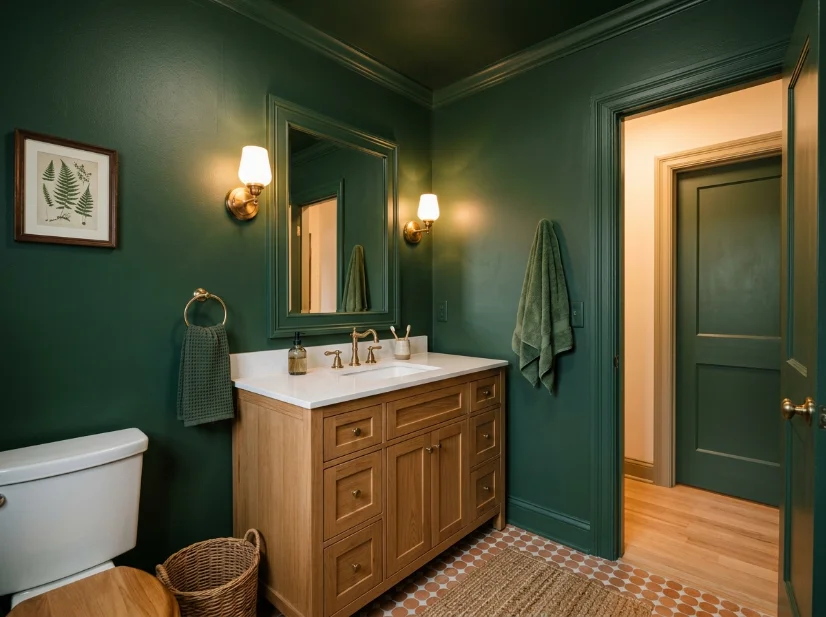
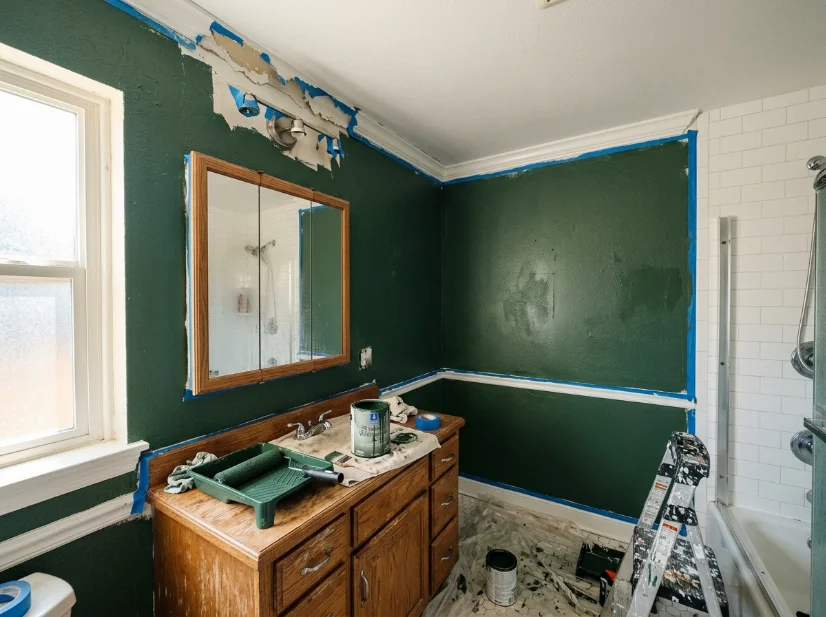
This project definitely wasn’t perfect. My first mistake involved the painter’s tape. I taped around the vanity mirror and painted the ceiling first. I planned to continue with the walls the following morning.
The problem was the August humidity in North Carolina. Our bathroom fan isn’t especially powerful, and the moisture slowed the drying process. When I finally pulled the tape away, some of the ceiling paint came off with it.
I had to touch up two areas before moving on. It wasn’t a disaster, but it added time to a project that I thought would be quick.
My second mistake was buying too little paint. I assumed one gallon would easily cover a 5×7 room because the bathroom is so small. I forgot to account for the ceiling, trim, and the extra coverage needed on some of the textured trim.
That meant another trip to the store for more paint.
Here are the lessons I would keep in mind:
- Don’t leave painter’s tape on longer than necessary, especially in a humid bathroom.
- Calculate the total surface area before buying paint.
- Remember to include the ceiling and trim in your estimate.
- Keep the bathroom fan running during and after painting to help with moisture.
What I’d Do Differently
If I were doing this bathroom again, I’d prime the trim separately before applying the final color. The grooves absorbed more paint than the flat walls, and the difference was noticeable in a few areas.
I’d also test the paint under the exact light bulb we use in the bathroom. Daylight made our green look softer, while the warm-white bulb made it appear significantly darker.
I would still choose the same basic approach, though. Color drenching gave our dated half bath a completely different personality without requiring a new vanity, new tile, or a full renovation.
The Biggest Lesson From My Color Drenching Experiment
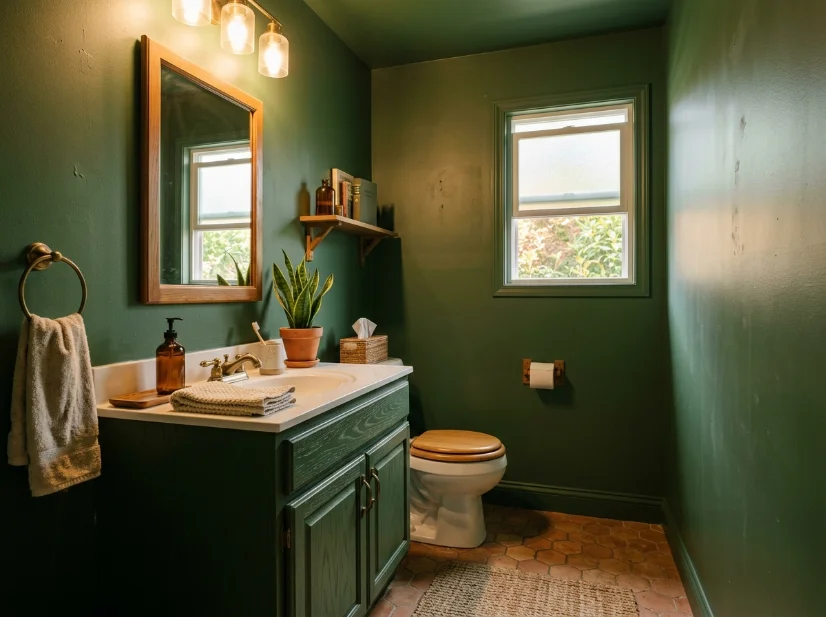
The biggest lesson was that color drenching doesn’t have to mean making a room dramatic. The real idea is consistency. When you use one color across several surfaces, even an inexpensive bathroom can feel more intentional.
For our half bath, the paint did most of the work. The oak vanity stayed. The existing fixtures stayed. The small window stayed. I simply changed how all those pieces related to one another.
That’s why I’d consider this trend again. A half bath is small enough to experiment with, but the result can make the entire space feel completely different.
If you’re thinking about trying color drenching in your own home, start with the smallest room you’re willing to experiment with. And if you try it, I’d love to hear which color you choose and whether you painted the trim and ceiling too.