
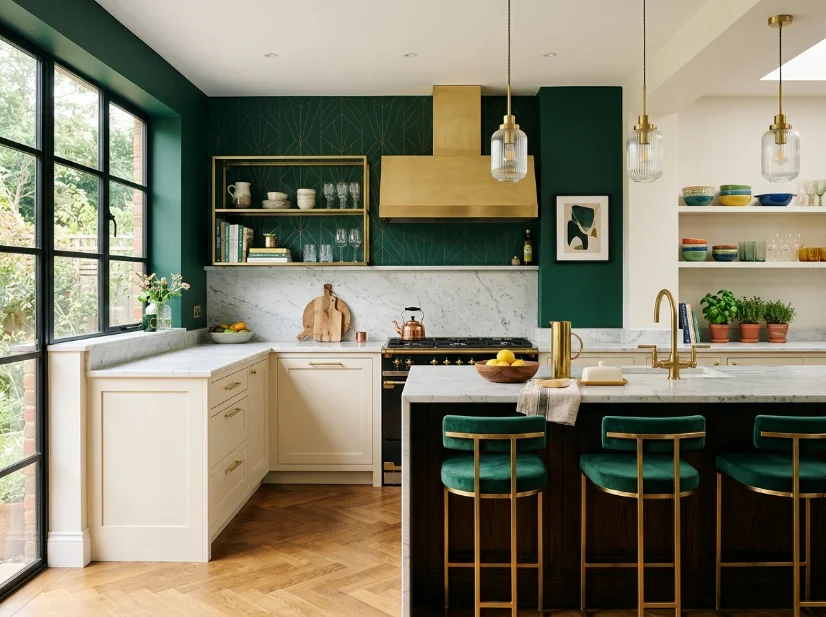
If you love Art Deco style but worry it will make your kitchen feel too dramatic, you’re not alone. I wanted the same elegant geometry, warm metals, and rich details, but I also needed a kitchen that could handle everyday family life. After two years of experimenting in our late-1990s Charlotte home, I learned which updates actually worked and which ones made the room feel too busy. In this guide, I’ll share seven modern Art Deco kitchen ideas that are realistic, approachable, and easy to adapt to your own space. You’ll see where I spent money, where I saved, and the mistakes I’d avoid if I were starting over.
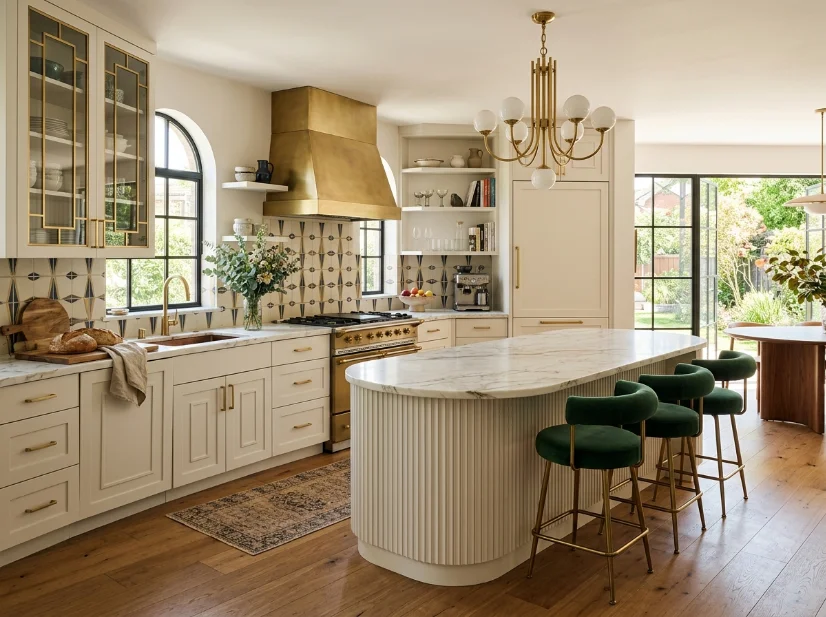
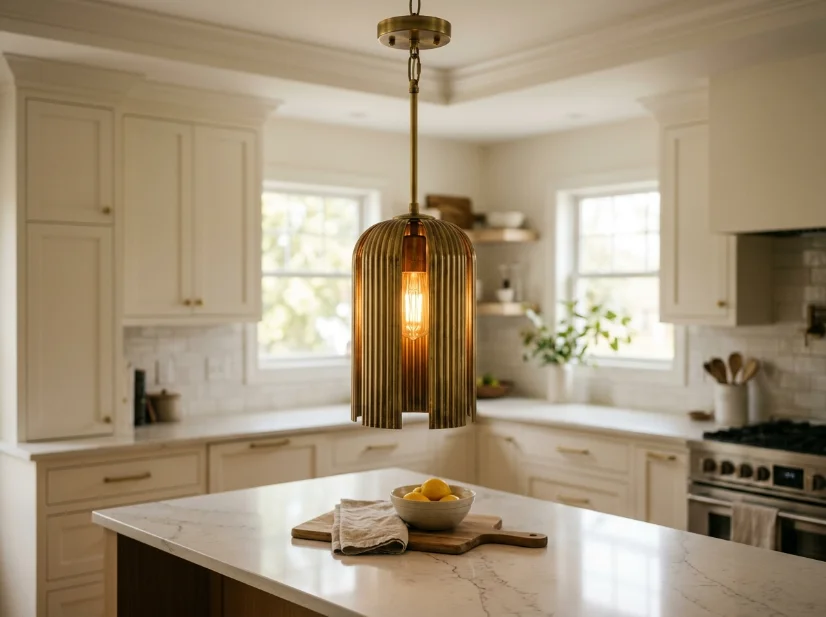
1. Start With One Geometric Light Fixture
The pendant light was my starting point. Ours is a fluted brass cylinder from West Elm. It cost $178, which felt expensive at first. Still, it was much cheaper than replacing every light in the kitchen. The fluted design made an instant difference. Those vertical ridges add texture and a clear Art Deco feel. They also look intentional beside simple white cabinets. You don’t need an expensive fixture to get the same effect. IKEA has simpler brass-toned pendants for less. You can also use a fluted glass shade to update an existing fixture. I made our switch on a Saturday afternoon. If the fixture involves electrical wiring, make sure the power is turned off first. If you’re not comfortable working with wiring, hire an electrician instead. Paying for professional help is better than taking a risk.
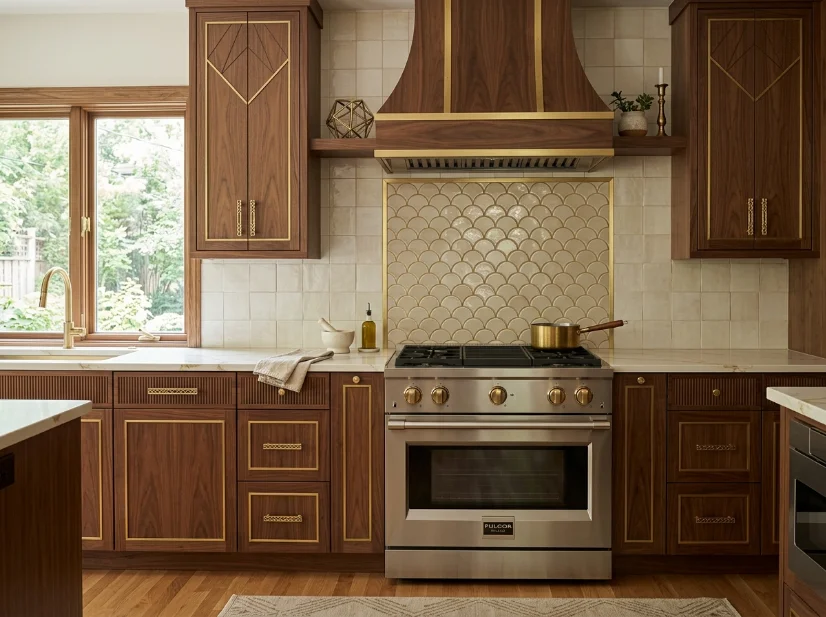
2. Add Fan Shapes Through Tile or Backsplash
I didn’t want to retile our entire kitchen. Instead, I created a small fan-shaped accent behind the stove. The section is about three feet wide. I used scalloped tiles from Home Depot that cost around $9 per square foot. The project took most of a weekend. The biggest problem was my first row of tiles. I measured poorly and had to cut it again. That meant another trip to the store for more tile. The finished pattern was worth the extra work. It gives the kitchen a decorative detail without overwhelming the room.
Where I’d Slow Down Next Time
Fan and scalloped patterns need more extra material than simple square tiles. I learned that the hard way. I bought the amount suggested by the calculator. I still ended up four tiles short. If you’re doing a similar project, buy about 15 percent extra. Keep the receipt, too. Extra tiles can save you from a frustrating second trip to the store. They can also help if a tile breaks later.
3. Layer In Warm Metal Hardware
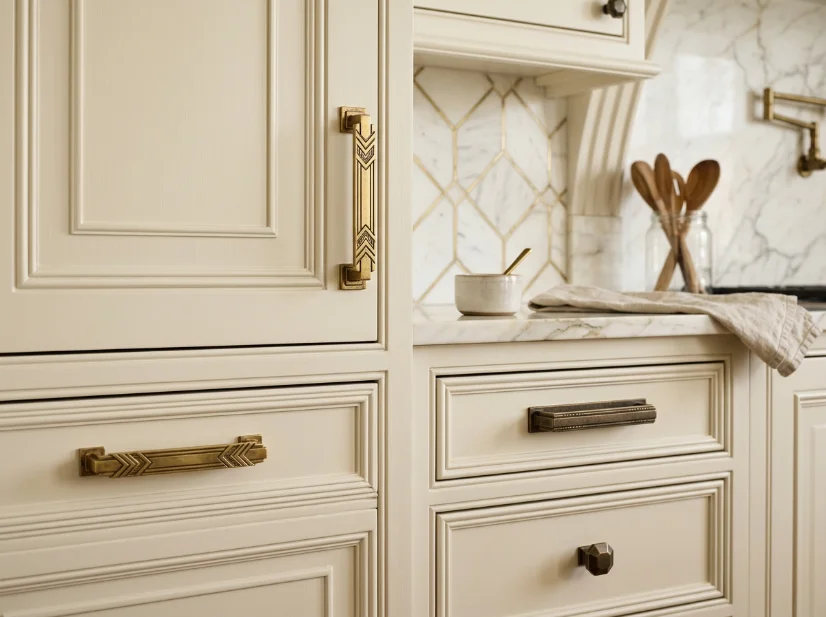
Changing the cabinet hardware was the easiest update I made. It is also one of the most affordable ways to introduce modern Art Deco style. I replaced our brushed nickel handles with brass and aged bronze pieces. Most of the knobs cost between $3 and $6 each. The difference was surprisingly noticeable. I didn’t have to paint the cabinets or replace the countertops. The kitchen simply looked more finished. I also learned that mixing finishes can work. I used one finish on the lower cabinets and another on the island. The result felt collected instead of random. Warm lighting helped pull everything together. I switched from cold white bulbs to warm 2700K bulbs. The brass looked much better under the warmer light.
4. Bring In Curved or Stepped Furniture
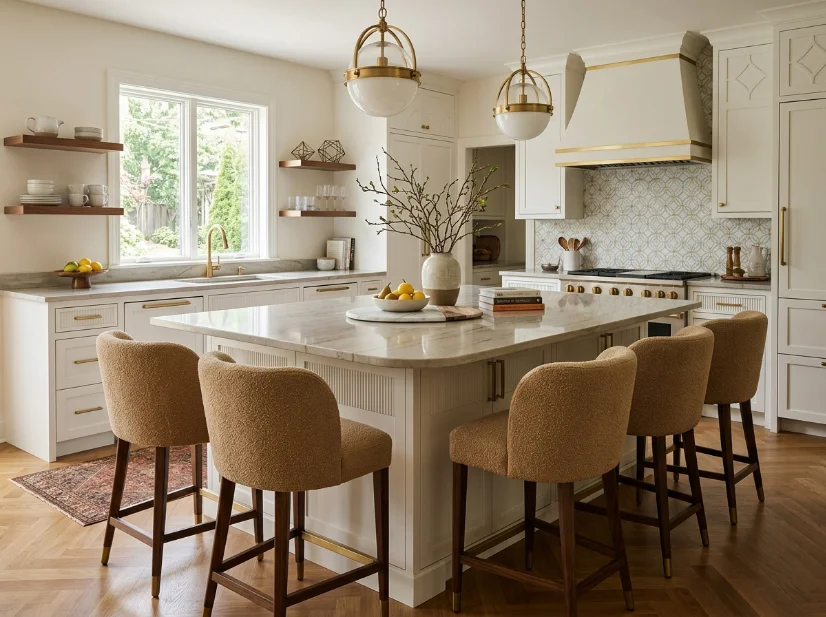
Our kitchen stools took three tries to get right. I wanted something that would soften all the straight lines in the room. Eventually, I found curved-back counter stools at HomeGoods. They cost about $89 each. The rounded shape made the kitchen feel less rigid. It also added a subtle Art Deco touch without looking themed. Curves aren’t the only option. Stepped furniture and shelves can create a similar effect. A small tiered shelf can look like a simple skyline. It works especially well on open shelving or a kitchen counter.
- Curved counter stools from HomeGoods: about $89 each, depending on the store.
- Stepped wood shelf riser from Target: around $22.
- Scalloped-edge rug runner from Wayfair: about $54–$68.
5. Use a Restrained Color Story
This is where I think it is easy to go too far. Black and gold kitchens can look amazing in photographs. In everyday life, they can feel much harder to maintain. Fingerprints show quickly when you have kids. I wanted something dramatic without making the kitchen feel heavy. I chose warm white walls and one deep emerald accent wall. Brass accents provide most of the contrast. Our accent shade is Sherwin-Williams Rookwood Green. One gallon was enough for two coats on the wall. It cost about $67 when I bought it. You don’t have to commit to a full accent wall. A single emerald or navy runner can create a similar effect. It is also easier to change when your taste shifts. A rug can be moved or replaced without repainting the room.
6. Choose Geometric Textiles Over Geometric Everything
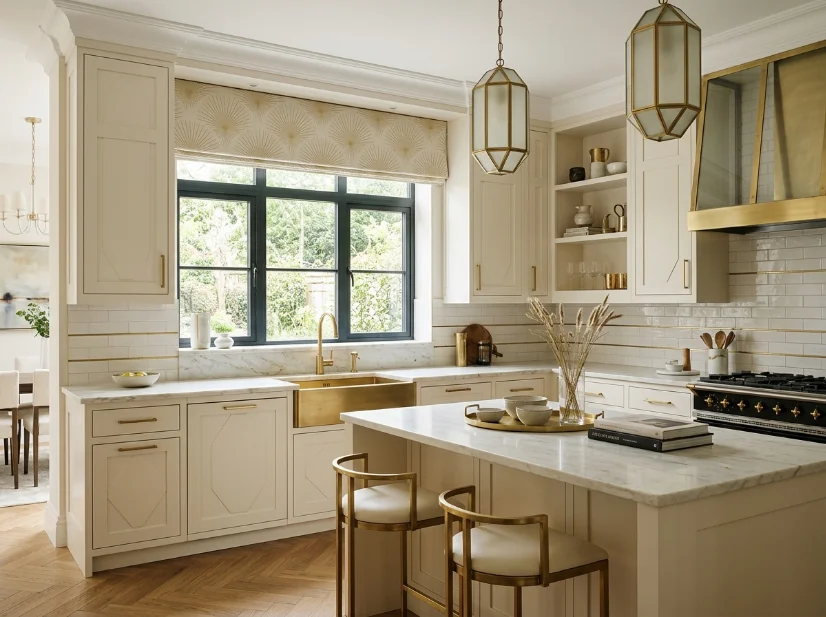
I made the classic mistake when I started. I combined geometric tile, geometric hardware, and a chevron rug. Every piece looked good on its own. Together, they made the kitchen feel too busy. I eventually learned to let one pattern lead in each area. Now our window valance has a subtle sunburst print from Etsy. It costs around $38. That is the strongest pattern in the room apart from the backsplash. The rest of the kitchen stays fairly simple. This balance makes the Art Deco details easier to notice. It also keeps the space from feeling like a themed room.
7. Save the Splurge for One Statement Piece
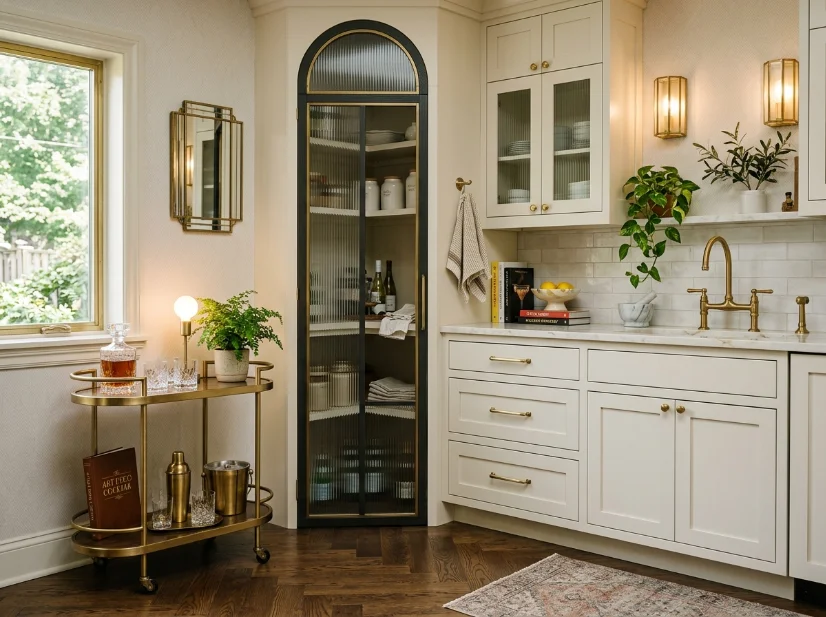
If you’re working with a limited budget, don’t try to make everything special. Pick one piece that gets most of your attention. For us, that piece was a curved brass bar cart. We placed it in the corner near the pantry. I found it secondhand through Facebook Marketplace for $135. Similar retail pieces can cost more than $400. The bar cart isn’t technically a kitchen essential. Still, it gives the room a strong focal point. It also connects the brass details throughout the space. One statement piece can make smaller, affordable updates feel more intentional.
Mistakes I’d Fix If I Started Over
I would change two things if I could start again. First, I would buy more tile from the beginning. I under-bought material for the fan accent. That forced me to pause the project while I waited for another order. The second batch also had a slightly different dye lot. Now I always buy extra and keep the receipt. My second mistake was the lighting. I started with standard 5000K daylight bulbs from a multipack. The cool light made our brass fixtures look almost silver. It also made the kitchen feel less welcoming. Switching to 2700K warm bulbs was a simple fix. It cost only a few dollars. More importantly, it made the other design choices look much better. I also learned that Charlotte’s humidity can affect wood. Our stepped shelf swelled slightly during its first summer. I eventually sealed it properly. That small issue reminded me to choose finishes that can handle the climate. A modern Art Deco kitchen doesn’t need to be perfect. It just needs a few thoughtful details that work together. For me, warm metals, curved shapes, simple geometry, and controlled color were enough. The result still feels stylish, but it also feels like our real home.
