
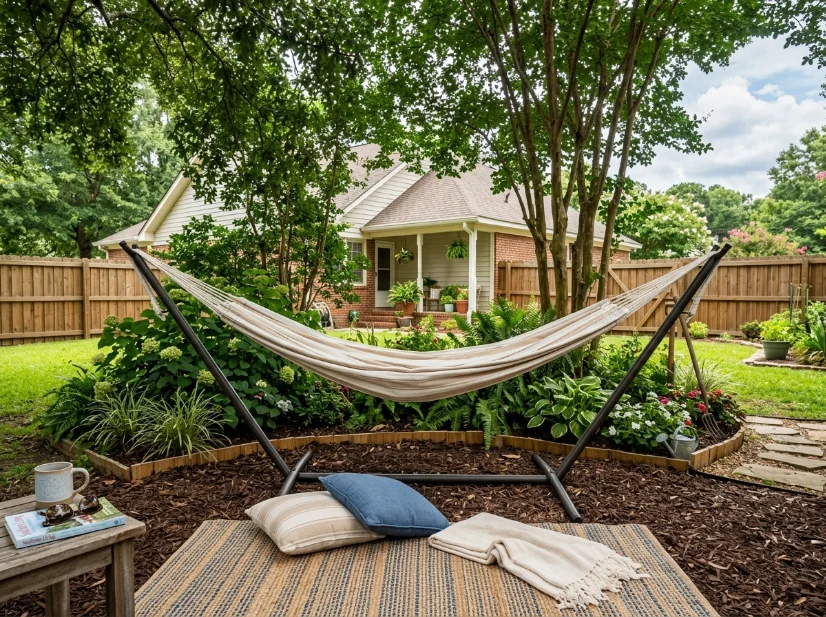
A hammock corner can turn an unused patch of backyard into one of the most relaxing spots at home, but getting the setup right takes more than hanging a hammock between two trees. After dealing with uneven ground, Charlotte humidity, heavy spring pollen, and plenty of backyard use from our kids, I learned which choices actually make a hammock corner comfortable and durable. In this guide, I’m sharing seven outdoor hammock corner ideas that worked in our backyard, from choosing the right shade and anchor points to adding privacy, lighting, weatherproof materials, and a better ground surface. I’ll also share the mistakes I’d avoid if I were starting over.
1. Pick (Or Fake) Real Shade First
Before buying anything, walk around your yard at 2 p.m. and pay attention to where the sun actually falls. Our first hammock faced west, and by July, it felt like a rotisserie. We moved it under a pair of maple trees on the side of the yard, and that one change made a bigger difference than any cushion or fan ever could.
If you don’t have mature trees, a shade sail is an easy solution. Ours cost $58 from Wayfair and attaches to two posts and the side of the garage. For a cheaper option, a $25 patio umbrella from Target works well if you’re not trying to hang the hammock directly beneath a tree canopy.
2. Decide Between a Stand and Real Anchor Points
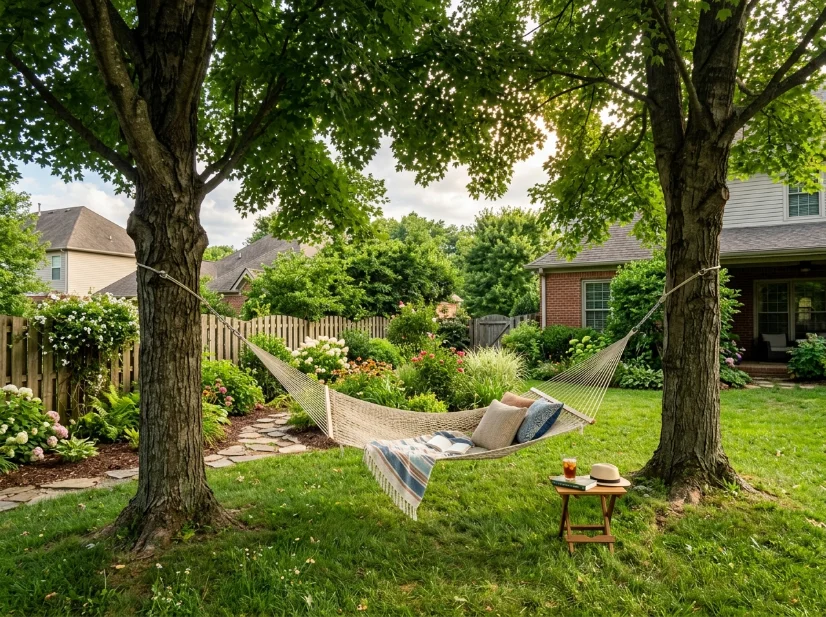
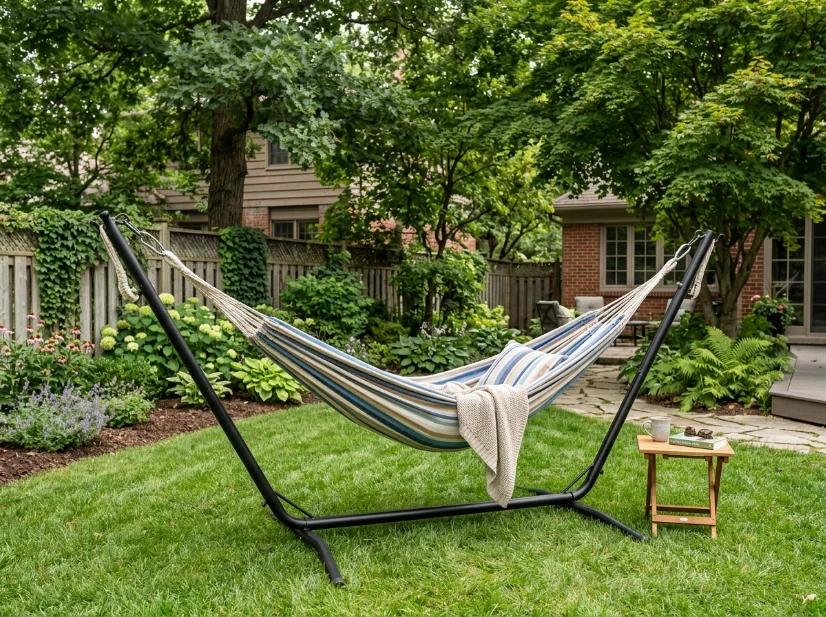
Trees are free and often sturdier than hammock stands, but you need enough space between two strong trunks. We needed around 12 to 15 feet, and our trees weren’t spaced correctly. So we bought a metal hammock stand for $134 from Lowe’s. It has held up well, although the powder coating started chipping where the chains rub after two summers. I now touch those spots up with rust-resistant spray paint each spring.
If you have the right trees, tree-friendly straps are a better choice than rope. They cost around $20 and are designed to avoid damaging the bark. A contractor working on an unrelated fence project noticed our original rope setup and pointed out that we were putting too much pressure on the tree. That was a lesson I was glad to learn early.
3. Layer In Privacy Without Blocking Airflow
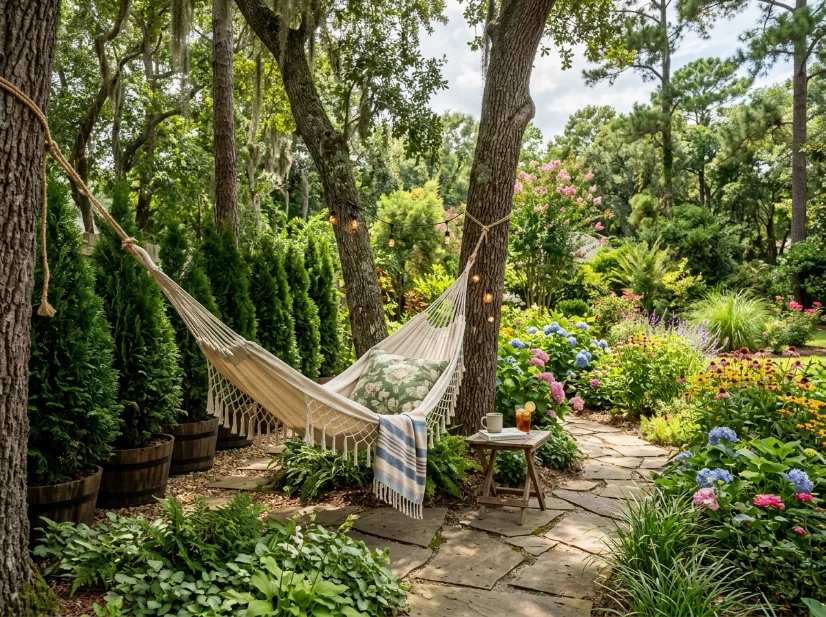
A hammock corner feels much more like an outdoor room when you add some visual separation from the rest of the yard. We placed a row of potted arborvitae along one side and left the other side open toward the garden beds. A full fence felt like overkill and would have blocked the breeze, which becomes especially important once August humidity arrives.
For renters or anyone who can’t plant shrubs, a freestanding lattice panel from Home Depot can create a similar effect. Ours cost around $40 and could simply lean against a fence post without requiring any digging.
Small Detail That Mattered More Than Expected
Spring pollen covers everything in yellow dust by late March, so choose privacy materials that are easy to clean. Our arborvitae are simple to hose off. A fabric privacy screen we tried during the first year was a completely different story. It stayed dirty and dingy until June.
4. Choose Weatherproof, Not Just Weather-Resistant
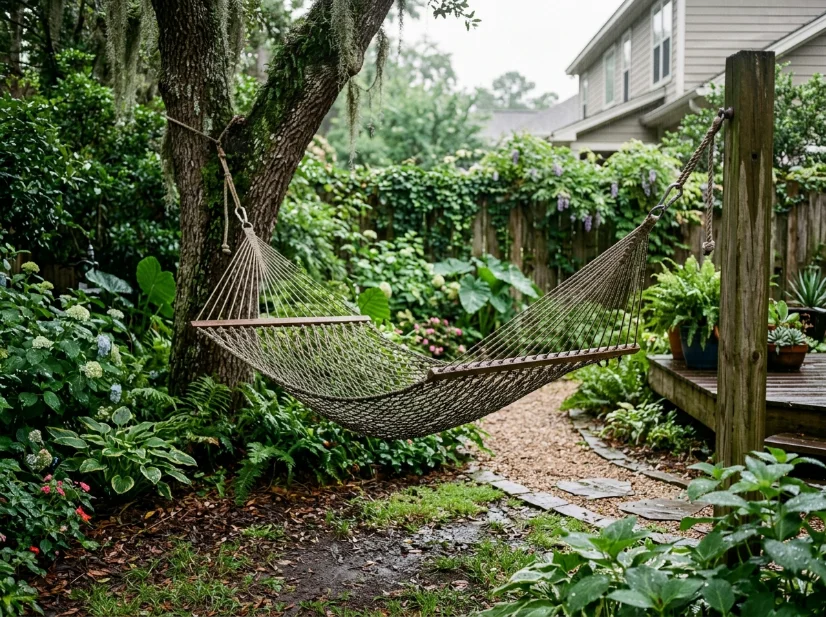
I learned the difference the expensive way. Our first hammock was a beautiful cotton rope style from a small Etsy shop. It looked great for about six weeks, but after one especially wet stretch, it developed a faint mildew smell that never completely disappeared. Southern humidity does not mess around.
We eventually switched to a Sunbrella-fabric hammock that cost closer to $110. It has made it through three summers without any mildew problems. If that’s outside your budget, a quick-dry rope hammock from Wayfair for around $45 is another good option. Just bring it inside during long stretches of rainy weather.
5. Add Lighting for After-Dinner Use
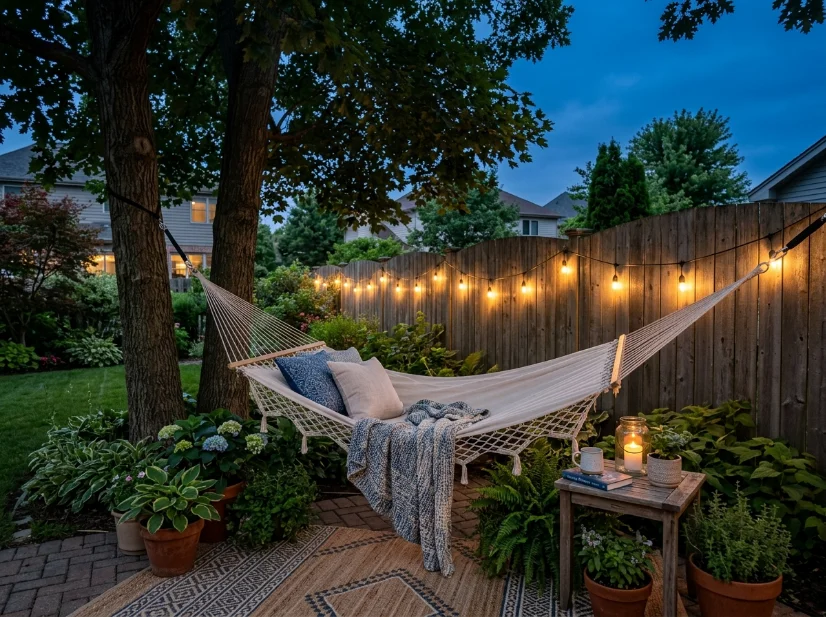
Our hammock corner barely got used in the evenings until we added solar lights along the fence line. The 48-foot strand cost about $24.99 from Amazon, and it completely changed how often we used the space. Once the kids go to bed, this is genuinely where Mark and I end up most evenings from May through September.
For a simpler and cheaper option, a single $15 solar lantern on a shepherd’s hook beside the hammock provides enough ambient light without requiring an installation project. I would skip anything that needs an outdoor outlet unless you already have one nearby. We don’t, and running an extension cord across a yard with a dog and two kids creates an unnecessary tripping hazard.
6. Get the Ground Surface Right
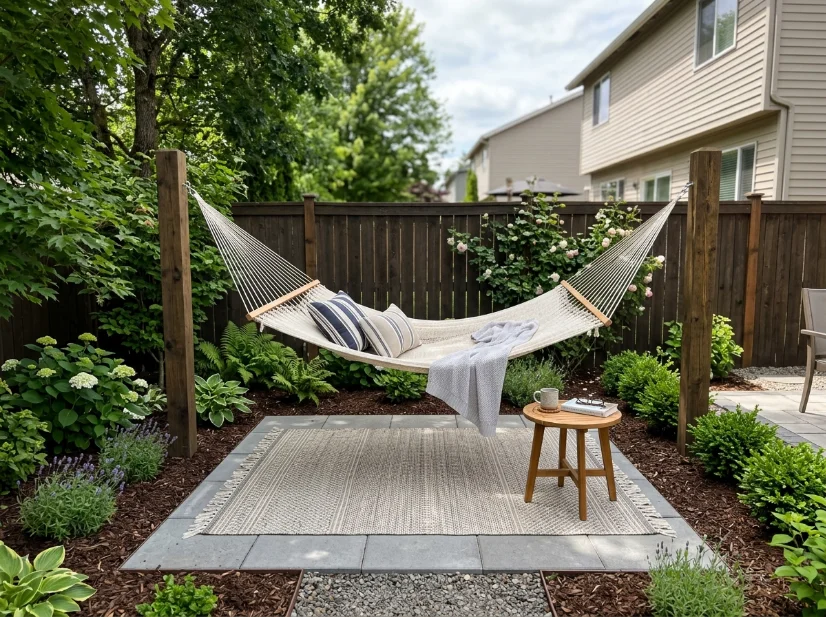
This is one of those details people often overlook and later regret. Mulch looks fine at first, but rain eventually splashes it onto cushions and creates a bare, muddy patch underneath where feet drag. We placed an $89 outdoor rug from HomeGoods over a small paver base, and it has held up better than I expected. During spring, I just shake off the pollen and leaves once a week.
If installing pavers feels like too much work, pea gravel is another practical option. A simple layer underneath an outdoor rug provides good drainage and costs much less than building a full patio.
Mistakes I’d Fix If I Started Over
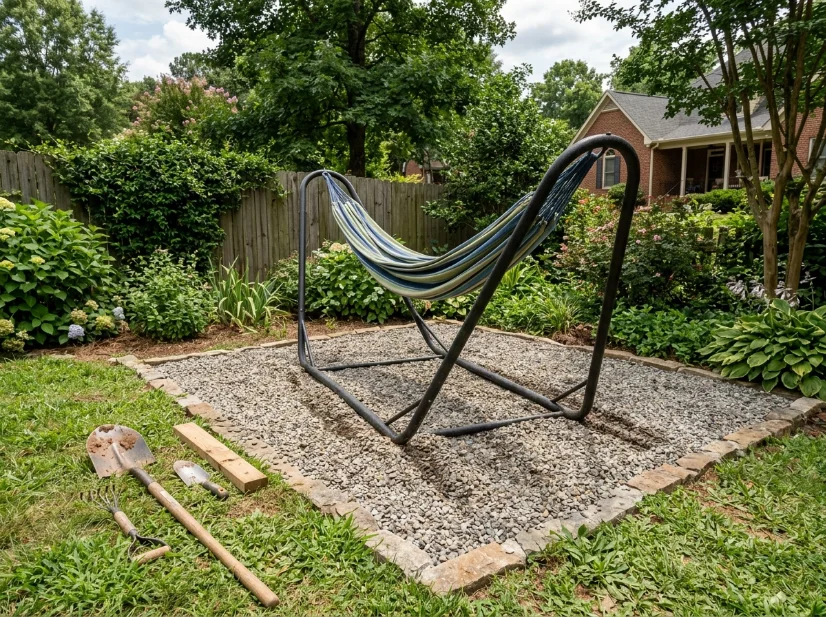
Two mistakes stand out. First, we placed our original hammock stand on uneven ground. By the second summer, it had shifted enough that Mark actually rolled out of the hammock while trying to get comfortable. We eventually had to dig out the area, tamp down gravel, and reinstall the base. That meant another trip to Home Depot for post mix we hadn’t planned to buy.
Second, I bought cushions that weren’t actually outdoor-rated because they were on clearance and looked close enough. They faded within one season and eventually started developing mildew around the seams. The lesson was simple: check the tag, not just the price tag.
