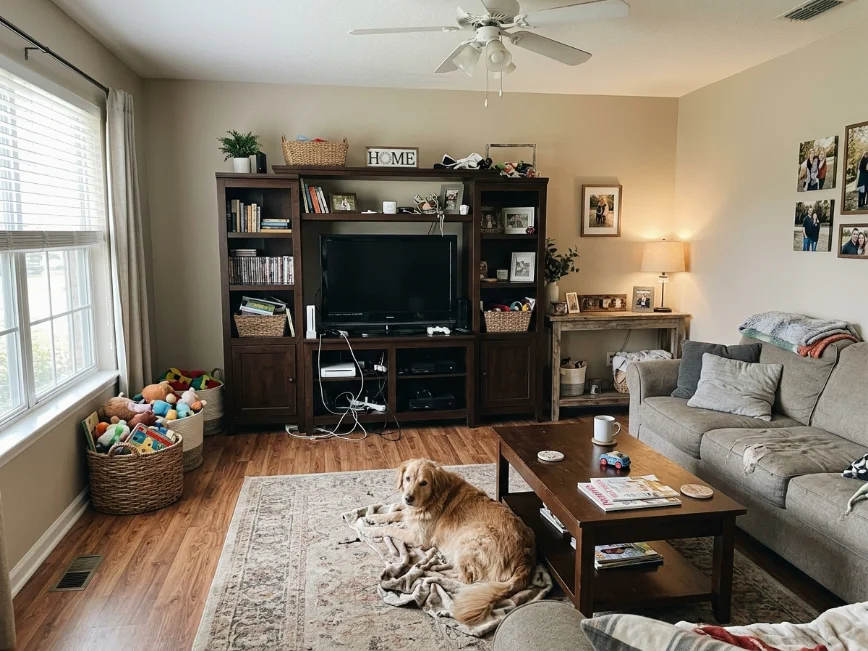
By the time we’d been in our late-90s house outside Charlotte for almost two years, the living room was still the one space that felt unfinished. We’d handled the obvious upgrades first: painting over the flat beige walls, replacing dated brass fixtures, and installing better flooring that could survive two kids and Biscuit’s daily chaos. But our television wall still looked like an afterthought.
For months, our television sat on a too-small hand-me-down stand with tangled cords, overflowing baskets, and mismatched electronics that never seemed organized. Between Mark’s work-from-home setup, gaming systems, dog hair, and everyday clutter, the room felt more functional than polished.
After several furniture swaps, one regrettable Facebook Marketplace mistake, and more Ikea assembly than I ever wanted to repeat, I realized television unit design has a much bigger impact than I expected. The right setup can add storage, improve layout, hide daily mess, and make a builder-grade living room finally feel intentional.
In this guide, I’m sharing the television unit design ideas that actually worked in our real family home, including budget-friendly options, storage solutions, styling upgrades, and practical mistakes I’d avoid if I were starting over. If your own media wall feels awkward, cluttered, or unfinished, these ideas can help you create something far more functional without overspending.
1. Start With the Right Scale for Your Wall
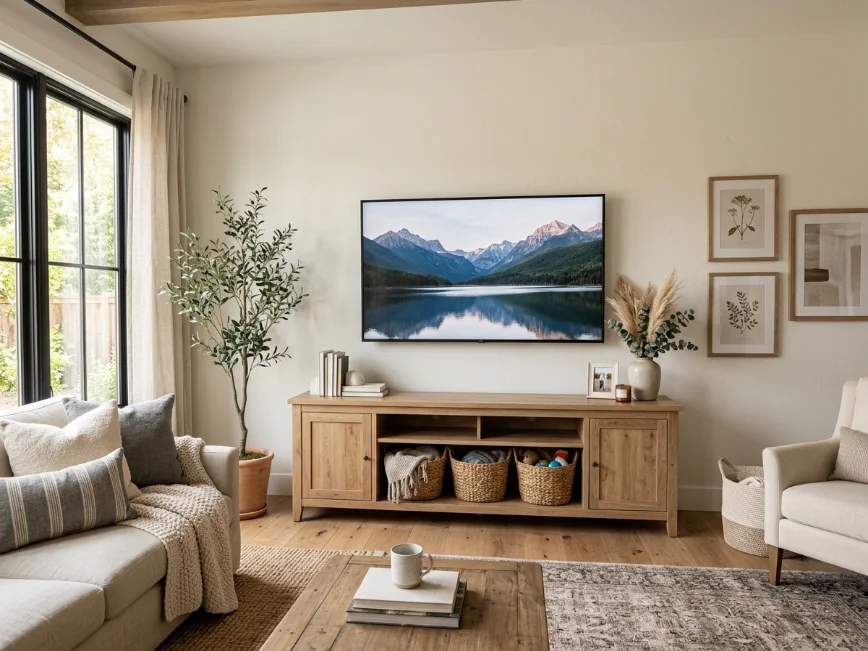
Our biggest mistake early on was buying a television stand that was way too narrow. The wall in our living room is about 12 feet wide, but our original stand was barely 58 inches long. It made the entire setup feel undersized and awkward.
Once we upgraded to a unit closer to 80 inches wide, the room immediately felt more balanced. Wider television unit designs tend to ground larger walls better, especially in suburban homes like ours where open-concept living spaces can easily feel disconnected.
A good rule that worked for us was choosing a unit at least 25–30% wider than the television itself.
What helped most:
- A longer console visually anchored the wall
- Extra cabinets hid toys, remotes, and random charging cords
- Lower, wider shapes felt more modern farmhouse than bulky entertainment centers
We found our current unit through Target online for around $420, which was far less than similar Pottery Barn options pushing $1,200.
If that price isn’t realistic, Ikea’s BESTÅ line can often give a similar custom look for $200–350, though I’ll be honest, our first do-it-yourself install involved one crooked door and a second Home Depot trip for better anchors.
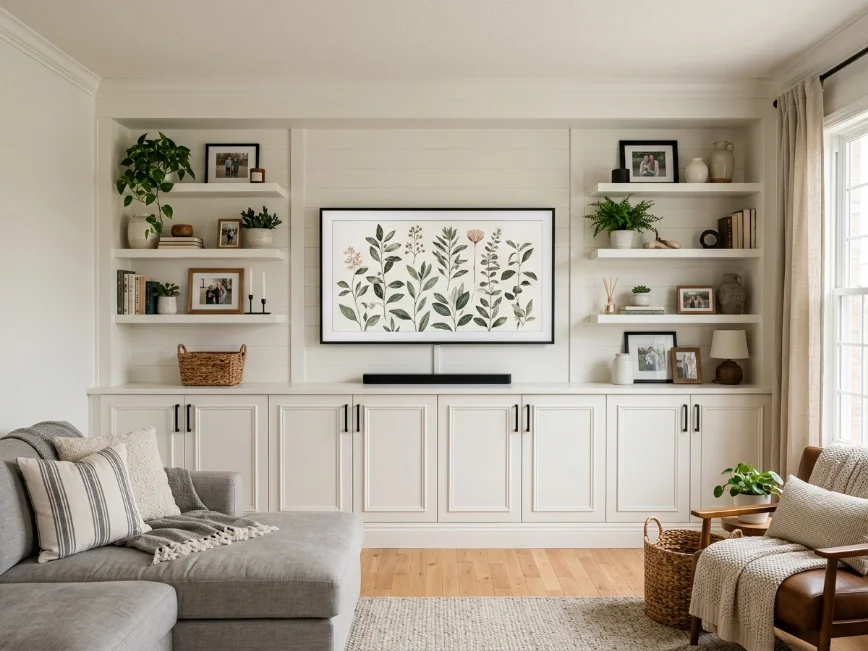
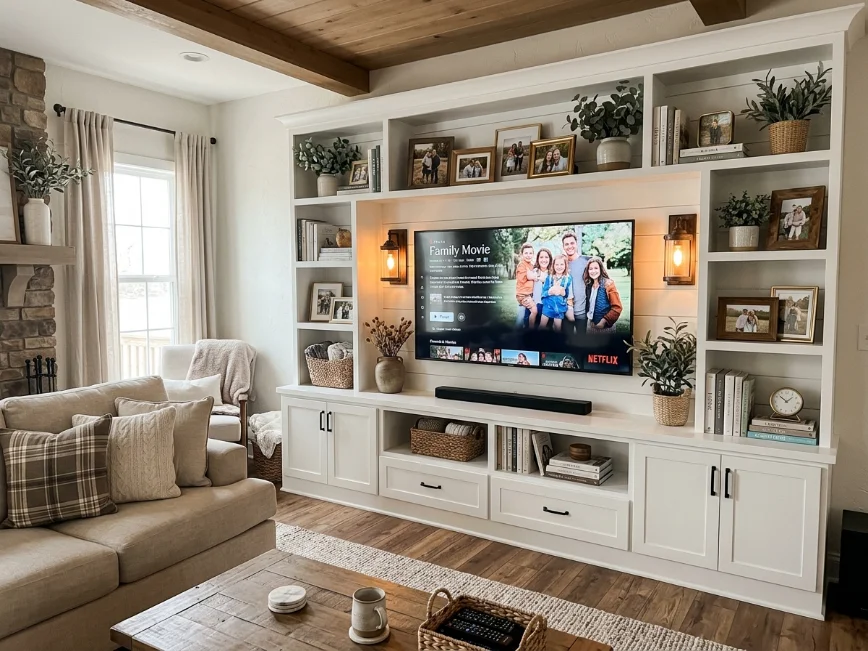
2. Built-In Looks Without Full Custom Pricing
I used to assume built-ins were out of reach for our middle-income budget, especially after one contractor quote came back at nearly $4,800. That was an immediate no.
Instead, we pieced together semi-custom shelving using Ikea bases with trim molding, paint, and wall-mounted shelves. It took two weekends, one badly miscut board, and a lot of caulk, but the final result looked significantly more expensive than it was.
Our total cost landed around $950, including:
- Ikea cabinets
- Sherwin-Williams paint
- MDF trim boards
- New matte black hardware from Amazon
Lessons from doing it ourselves:
The humidity here outside Charlotte matters more than I expected. One trim piece expanded slightly during August and left a visible seam until we recaulked.
And paint matching? Trickier than Pinterest makes it look. Our first white was too stark against the existing trim, so we had to repaint in a softer warm white.
Still, this style of television unit design added storage, gave us display space for family photos, and finally made our builder-grade room feel more custom.
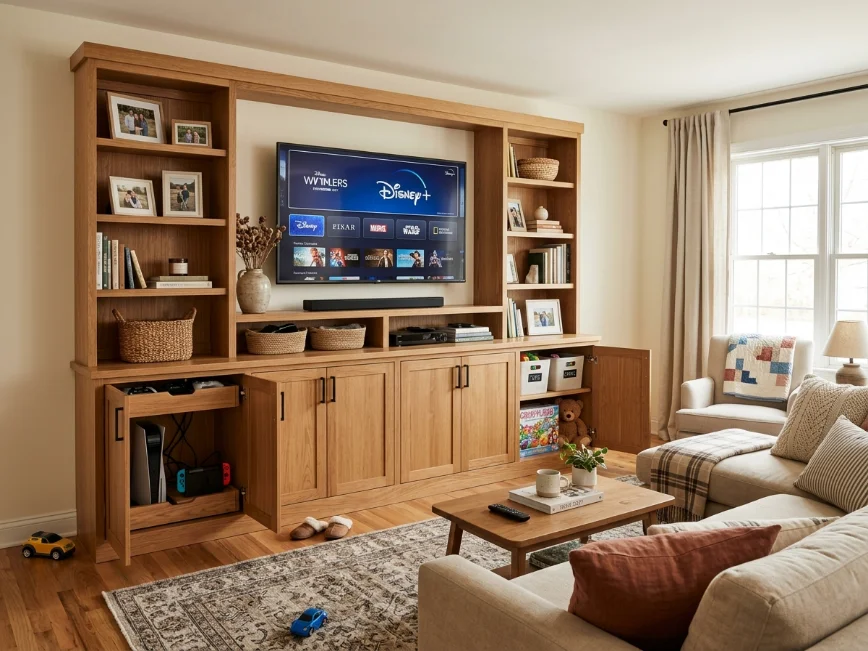
3. Closed Storage Is a Lifesaver for Real Families
Open shelving can look beautiful online, but in our house, it quickly became a magnet for tangled cords, dusty décor, and my son’s action figures.
After six months, I realized I was constantly rearranging shelves just to keep them looking halfway decent.
Switching to more closed cabinetry was one of the smartest design choices we made.
Cabinet doors hide:
- Gaming systems
- Wi-Fi equipment
- Kids’ movies
- Dog toys
- Seasonal clutter
For everyday life, practicality wins.
Our HomeGoods baskets still help organize inside larger compartments, but from the outside, everything feels calmer.
If you love the lighter feel of shelving, I’d suggest a mix: about 70% closed storage and 30% styled open space. That balance kept our living room functional without looking sterile.
Budget-wise, Wayfair and Ashley Furniture often have family-friendly television unit designs under $600, though I’d personally read reviews carefully. One cheaper unit we ordered in 2022 arrived with cracked veneer, and returning it was such a headache that I missed the pickup window once.

4. Don’t Ignore Cord Management
Honestly, visible cords can ruin even the prettiest television wall.
For too long, ours looked like a spaghetti disaster behind the console. Mark’s router, speakers, work laptop dock, and gaming systems created an impossible mess.
The solution wasn’t glamorous, but it made a huge visual difference.
We used:
- In-wall cord covers from Lowe’s (around $25)
- Zip ties and labeled cable sleeves
- Surge protectors mounted behind the unit
- Storage boxes for excess wiring
A small do-it-yourself that changed everything
Installing cord covers should’ve been easy, but our first cut was too short, which meant another hardware run in 95-degree summer heat.
Once finished though, the entire wall looked cleaner and safer for kids.
If you’re handling electrical modifications beyond basic cord covers, it’s worth consulting a licensed electrician.
Simple cable organization may not sound exciting, but for polished television unit design, it’s one of the biggest upgrades for the least money.

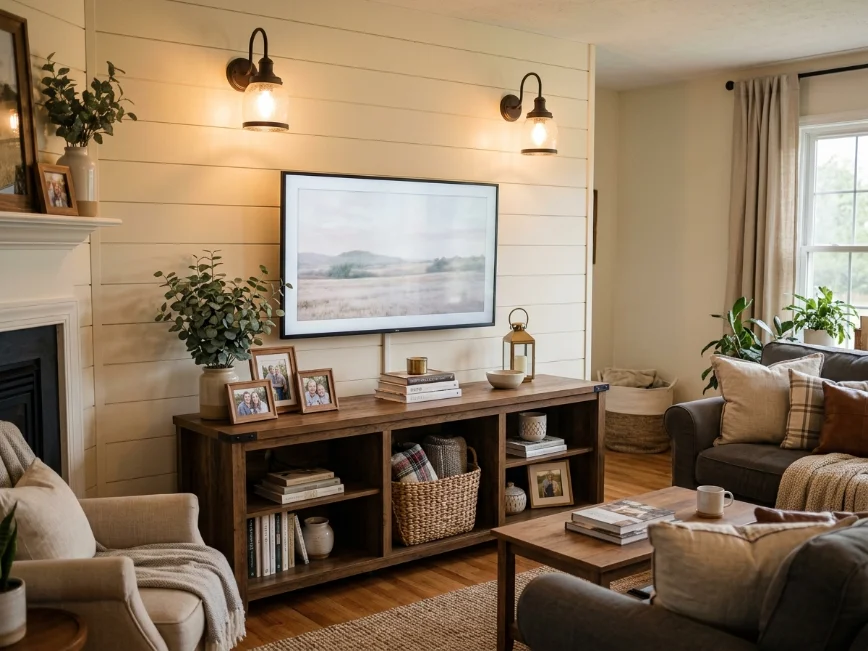
5. Mixing Decor With Function Makes It Feel Finished
One thing I learned the hard way: a television wall shouldn’t feel like just electronics.
Our first setup was basically screen, soundbar, and blank wall. Functional, yes. Inviting? Not at all.
Adding layered décor made the whole room feel warmer.
Some affordable additions that worked for us:
- Framed family photos
- Faux olive branches from Target
- Vintage books from Goodwill
- Sconces for softer lighting
- A large round mirror nearby to balance the visual weight
Because spring pollen here gets intense, I’ve mostly switched from real plants to quality faux greenery near electronics. Less dusting, less maintenance.
Lighting also matters more than I expected. Warm 2700K bulbs feel much softer than harsh daylight bulbs, especially during evening movie nights.
television unit design really works best when it blends storage, scale, and personality rather than looking too showroom-perfect.
6. Wall-Mounted Units Can Save Floor Space
For smaller living rooms or multipurpose spaces, floating television units can make a room feel larger.
We tested this idea in our bonus playroom where floor space mattered more.
A floating console from Ikea cost us about $190, and while installation required serious wall stud planning, it opened up valuable space underneath for baskets and easier vacuuming.
Pros we noticed:
- Room looked less heavy
- Easier cleaning underneath
- More modern visual appeal
- Better for compact spaces
Downsides:
- Installation was trickier
- Weight limits matter
- Less total storage than floor units
For homes with toddlers, make sure mounting is done securely. Safety matters more than style here.
For our main living room, I still preferred grounded furniture because of storage needs, but wall-mounted television unit design can work beautifully in smaller rooms.
7. Choose Finishes That Work With Everyday Life
I learned this after regretting a dark espresso unit that showed every fingerprint, dust speck, and Biscuit nose smudge.
These days, I’d recommend medium wood tones, painted warm whites, or greige finishes for most family homes.
Our current transitional-style unit has a natural oak finish with black hardware, which hides wear far better than glossy surfaces.
Practical finish considerations:
- Matte surfaces hide dust better
- Textured wood grain disguises scratches
- Avoid high-gloss with kids or pets
- Moisture-resistant materials matter in humid climates
West Elm has beautiful options, but we found similar styles through Article and Target for far less.
After living with multiple versions, durability matters just as much as appearance.

What I’d Do Differently If We Started Over
If I could redo our television wall from scratch, I would’ve skipped the cheap temporary stand entirely and invested sooner in something properly scaled.
I also would’ve prioritized cord management from day one instead of treating it like an afterthought.
My biggest lesson? Trying to copy Pinterest-perfect spaces without considering our real life never worked. Between kids, a shedding dog, North Carolina humidity, and budget limits, practicality needed to lead every design choice.
I’d also test paint swatches more carefully. Lighting shifts so much from bright noon sun to evening lamp light, and one wrong undertone can throw off the whole room.
Most importantly, I learned that good television unit design isn’t about buying the most expensive option. It’s about balancing storage, style, and family function in a way that genuinely fits your home.
