
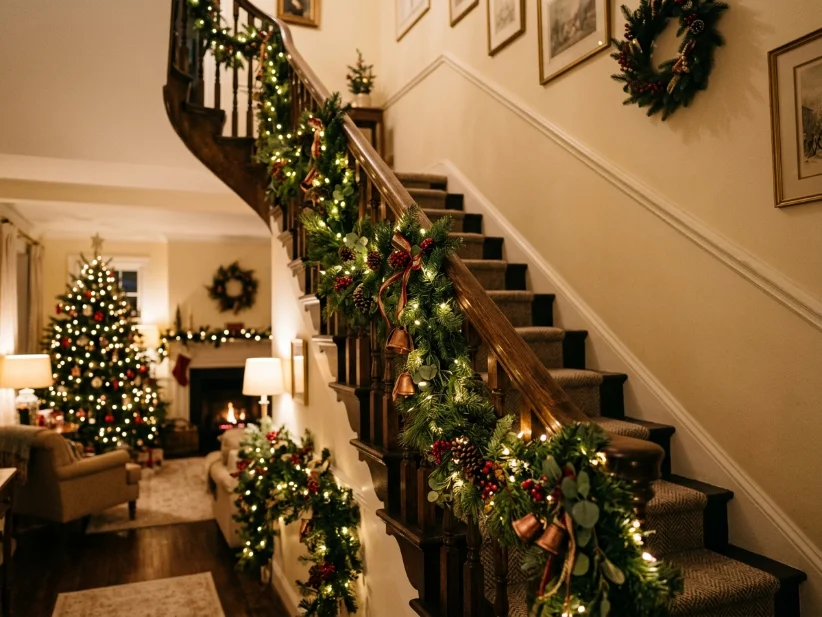
Our staircase is the first thing people see when they walk into our house, but for the first couple of Christmases I barely decorated it. I’d hang a wreath on the front door, style the dining table, and leave the banister completely plain. Last year I finally decided it deserved some attention, but I also knew any decorations had to survive real life. Between our dog Biscuit chewing anything that looks remotely edible, my son using the railing every morning, and constant trips up and down the stairs, anything delicate simply wasn’t going to last.
After a lot of trial and error, I found a few Christmas staircase garland ideas that actually worked in a busy family home. In this guide, I’ll share the decorating tips that held up all season, the budget-friendly swaps that saved money, and the mistakes I’d avoid if I were starting again.
1. Start With a Real Base Garland
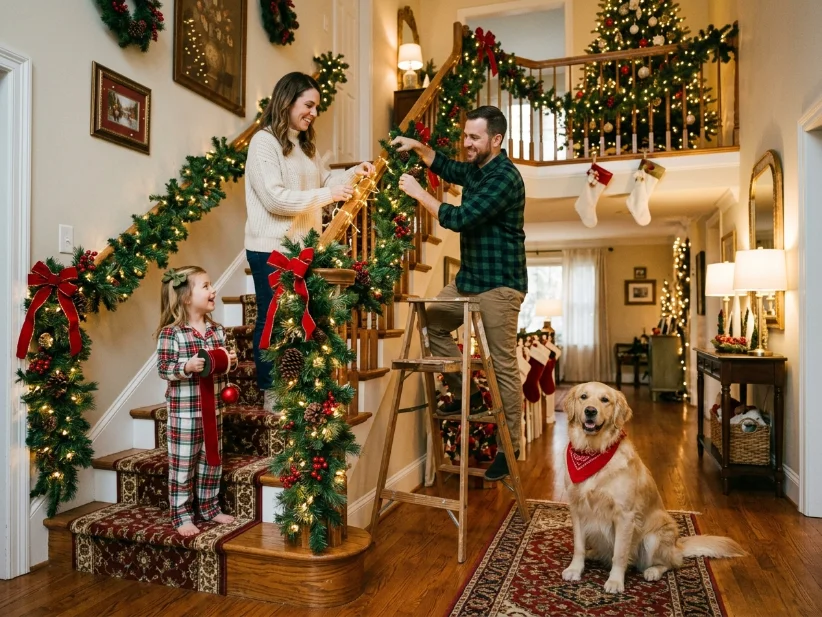
The base garland is the foundation for everything else, so it’s worth choosing a good one. We use a 9-foot faux pine garland from Home Depot that cost about $28. Our staircase is roughly 14 feet long, so I connect two garlands together. Michaels and Hobby Lobby sell similar options, usually between $20 and $45 depending on how full they are.
Fresh garland is beautiful if you prefer the real thing. Around Charlotte, many Christmas tree lots sell it by the foot. We tried it once, but it dried out quickly because our heating runs almost constantly once winter arrives. Faux garland has lasted three Christmases without losing its shape, and I don’t have to sweep pine needles off the stairs whenever Mark carries laundry downstairs.
Budget Swap
If buying one long garland feels expensive, purchase shorter sections and connect them with zip ties. Cover the join with a bow or a cluster of ornaments, and nobody will notice where the pieces meet.
2. Secure It Before You Decorate It
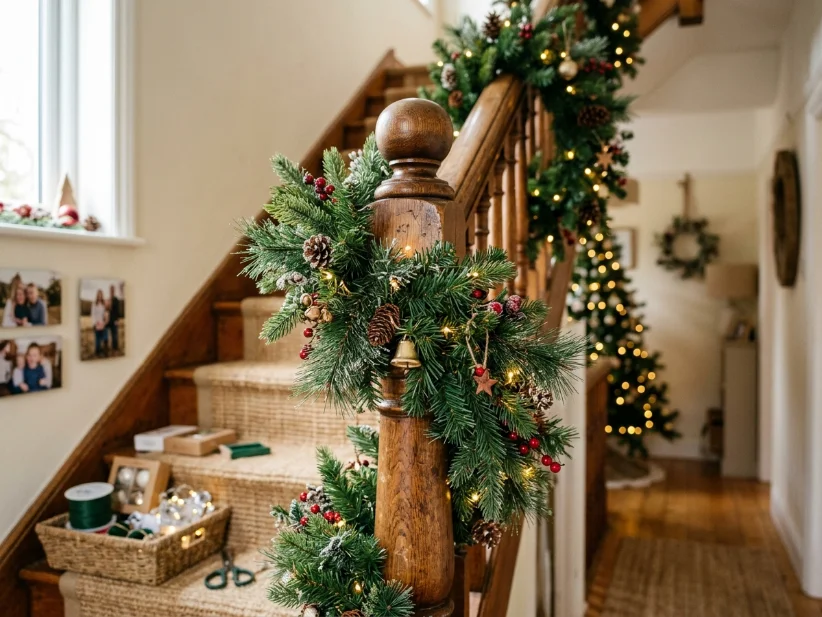
I skipped this step the first year, and I regretted it. I draped the garland over the railing, added ribbon and lights, and by dinner it had slid into a pile at the bottom of the stairs. Between kids, a wagging dog, and gravity, it never had a chance.
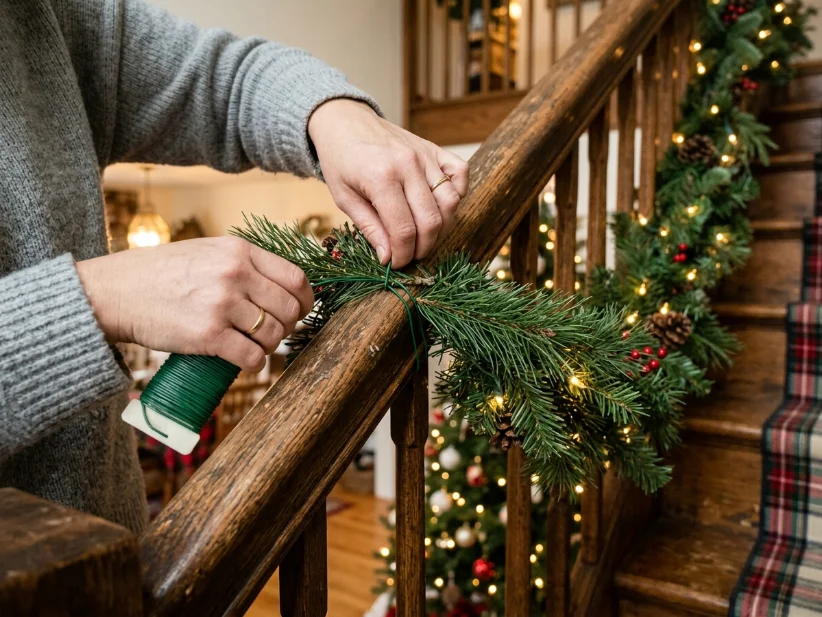
Now I secure the garland first using floral wire, which costs about $4 a roll at Michaels. I fasten it to the railing every 12 to 18 inches by wrapping the wire around the spindles. It only adds about 15 minutes to the job, but the garland stays in place all season instead of becoming a tripping hazard.
3. Layer in Warm White Lights First
Always add the lights before ribbon or ornaments. I use battery-operated warm white LED string lights, usually around $16 for a 20-foot strand. Our staircase isn’t close to an outlet, so battery lights save me from running an extension cord across the entryway.
Warm white lights create a cosy glow. Cooler white or blue-toned lights feel too harsh in our space.
Instead of laying the lights on top of the greenery, weave them through the garland. The light shines from inside the branches, giving the whole display a more polished look while hiding the battery pack.
4. Ribbon Adds Colour Without a Permanent Commitment
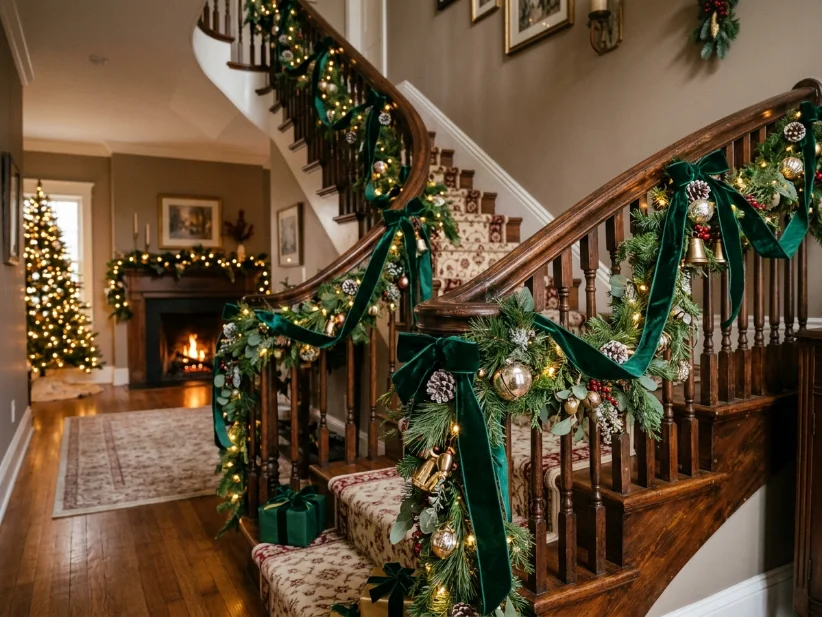
Changing ribbon colours each year is one of my favourite parts of decorating. We’ve used classic red and green plaid from Target, natural burlap ribbon from JoAnn, and deep emerald velvet ribbon from World Market. The velvet cost a little more, but it looked much more expensive than it actually was.
Wire-edged ribbon is worth buying because it holds its shape better. Rather than weaving one long strip through the entire garland, I tuck in separate loops. If one section gets flattened, I only need to fluff that small area instead of redoing the whole staircase.
5. Mix Different Greenery Textures
Using only one type of garland can make the display look flat. Adding different greenery creates more depth and makes everything look professionally arranged.
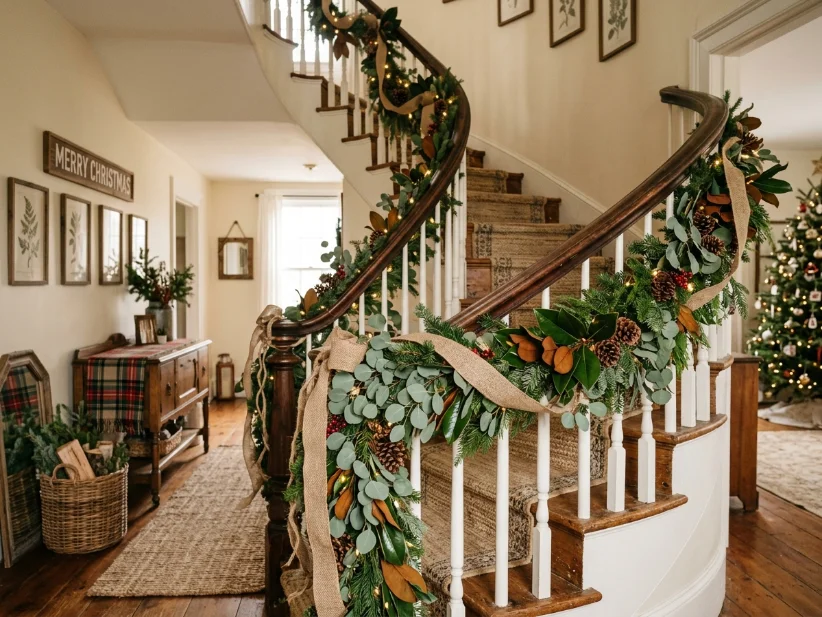
I bought faux magnolia leaves from HomeGoods for about $11 and tucked them into the garland every foot or so. They instantly made the staircase look fuller.
Some of my favourite additions include:
- Faux eucalyptus for a softer green colour.
- Magnolia leaves for a Southern-inspired look with glossy texture.
- Pinecones collected from our backyard, which happen to be the only completely free decoration in this project.
6. Create a Focal Point at the Bottom and Top
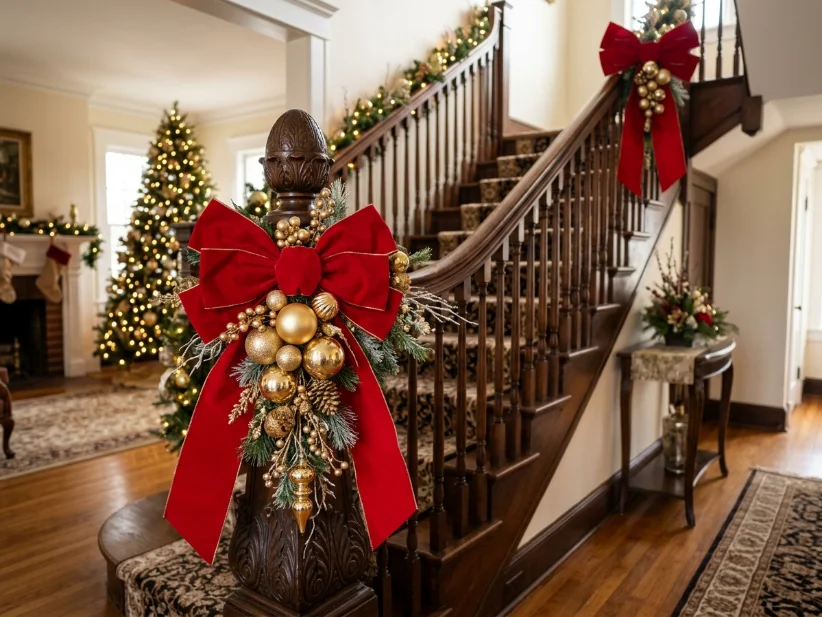
The base of the staircase and the newel post naturally draw attention because they’re at eye level. I usually place a large bow or an ornament cluster at the bottom and repeat a smaller version at the top. It makes the entire design feel balanced.
One year I attached ornament clusters every couple of feet along the railing. It looked overcrowded, and many ornaments ended up on the floor within two weeks because the wire couldn’t hold their weight.
Now I stick with just two or three focal points. The garland, ribbon, and lights already do most of the decorating.
If You’re Short on Time
Skip the individual ornaments altogether. A full garland with woven lights and ribbon still looks beautiful, and it’s the version I use whenever December gets especially busy.
7. Match the Garland to Your Home’s Style
Our house still has warm oak trim from the late 1990s. I learned that cool silver and icy blue decorations never looked quite right against those warm wood tones.
Once I switched to gold, burgundy, cream, and other warmer colours, the staircase blended much better with the rest of the house.
If your home has white trim and cooler flooring, silver and white decorations may suit the space better. Before shopping, spend a minute looking at your entryway in natural daylight. It makes choosing colours much easier.
8. Protect Your Railing
This isn’t the most exciting decorating tip, but it can save your railing.
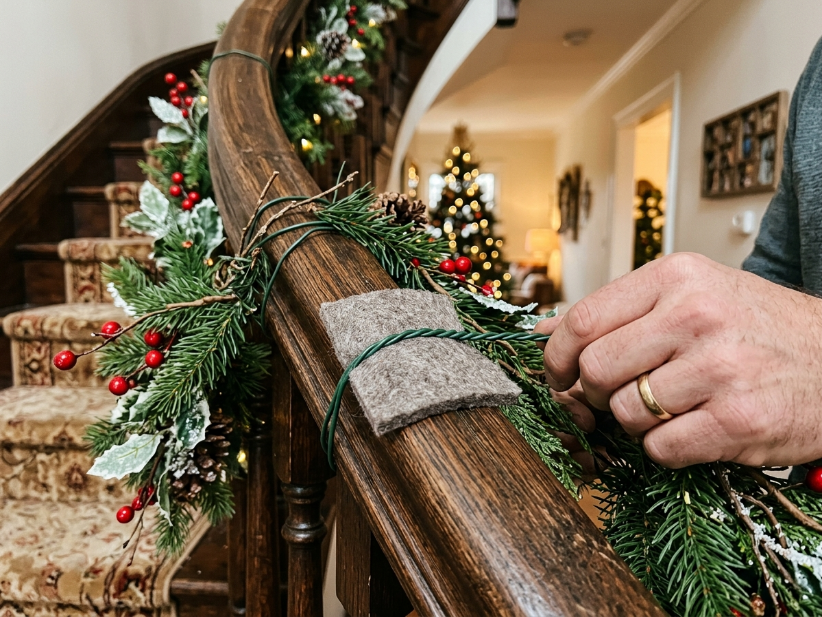
After our second Christmas, I noticed a few small scratches where the floral wire had rubbed against the wood. Since then, I wrap a thin piece of felt or a soft cloth around the railing before attaching anything with wire.
If you’re renting or simply want to avoid wrapping wire around the railing, removable Command hooks are another option. They’re usually around $6 a pack. Just make sure the hooks can support the weight of a fully decorated garland.
9. Plan for Kids and Pets From the Beginning
By now, I’ve accepted that Biscuit will investigate the bottom few steps every Christmas. Instead of fighting it, I decorate with that in mind.
Anything near dog height gets secured extra tightly. I also avoid small ornaments or decorations that could easily be chewed or pulled loose. Pine sap, fake berries, and tiny decorative pieces simply aren’t worth the risk.
If you have young children or pets, skip anything fragile or easy to remove. Avoid real candles anywhere near the staircase, and always check whether your faux greenery is suitable for use with string lights before decorating.
What I’d Do Differently
Looking back, I wish I’d bought one long, full garland from the beginning instead of joining two thinner ones together. No matter how carefully I hide the seam, it never looks quite as full as the rest of the staircase.
I also wouldn’t buy the cheapest ornament hooks again. The first pack bent under the weight of glass ornaments, so I ended up replacing them with sturdier ones from Home Depot anyway.
The biggest change I’ve made isn’t about decorating at all. I used to take everything down in one long, exhausting afternoon during the first week of January. Now I spread the job over two days. One day is for removing the greenery and lights, and the next is for ribbon, ornaments, and storage.
It only adds a little extra time, but it makes putting Christmas away feel much less overwhelming.
