
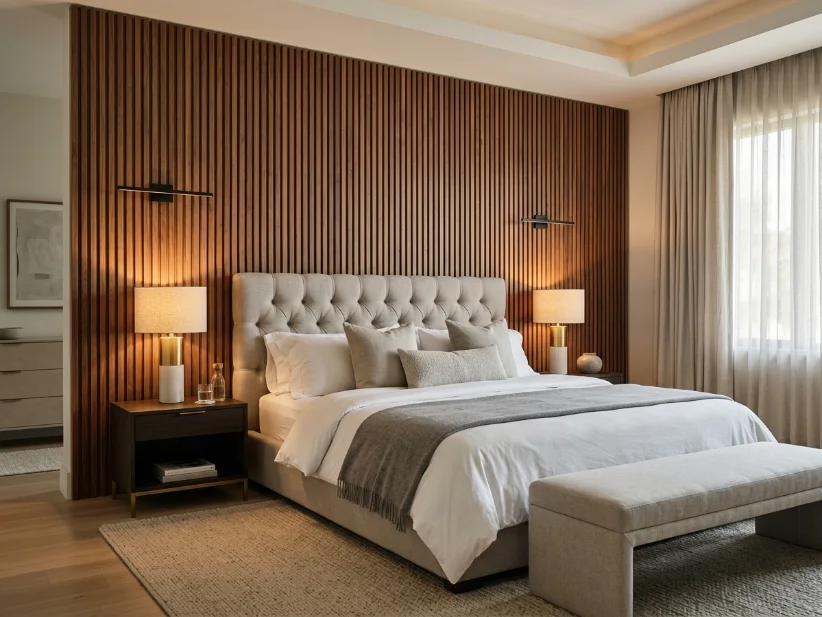
A luxury master bedroom doesn’t have to come with a luxury renovation budget. After spending two years making decorating mistakes, I finally discovered which upgrades actually create an expensive, hotel-inspired look without completely remodeling the room. In this guide, I’ll share the budget-friendly changes that transformed our bedroom, the mistakes I made along the way, and the improvements that were truly worth the money. If you’re looking for realistic luxury master bedroom ideas, these tips can help you create a calm, elegant space without overspending.
For the first two years in our house, our master bedroom never felt finished. We had builder-grade oak trim, a used bed frame from Facebook Marketplace, and one mismatched lamp. Every night I looked at luxury hotel bedrooms online and wondered why our room felt so ordinary. I wanted a high-end look without spending thousands on a renovation. It took time, but I finally learned that luxury comes from thoughtful choices, not a huge budget.
The Problem With Our First Design
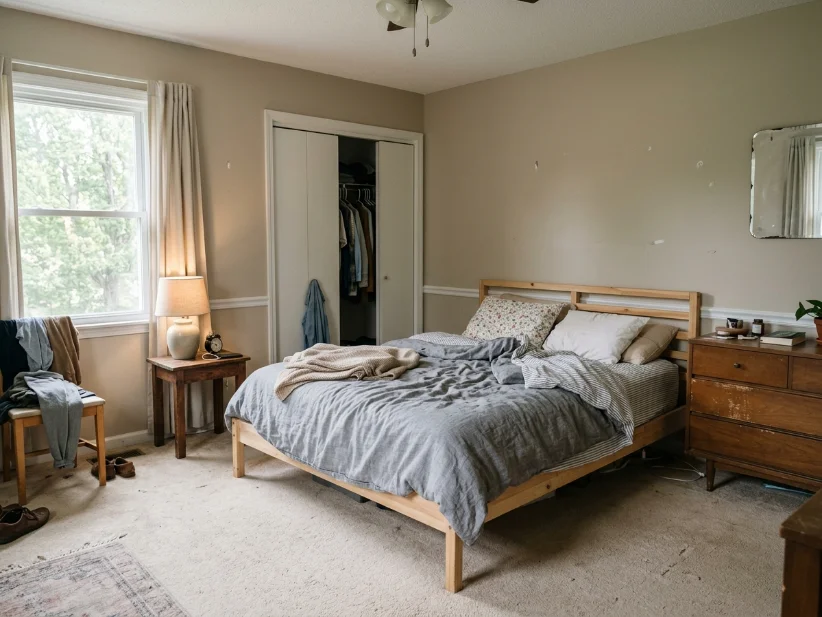
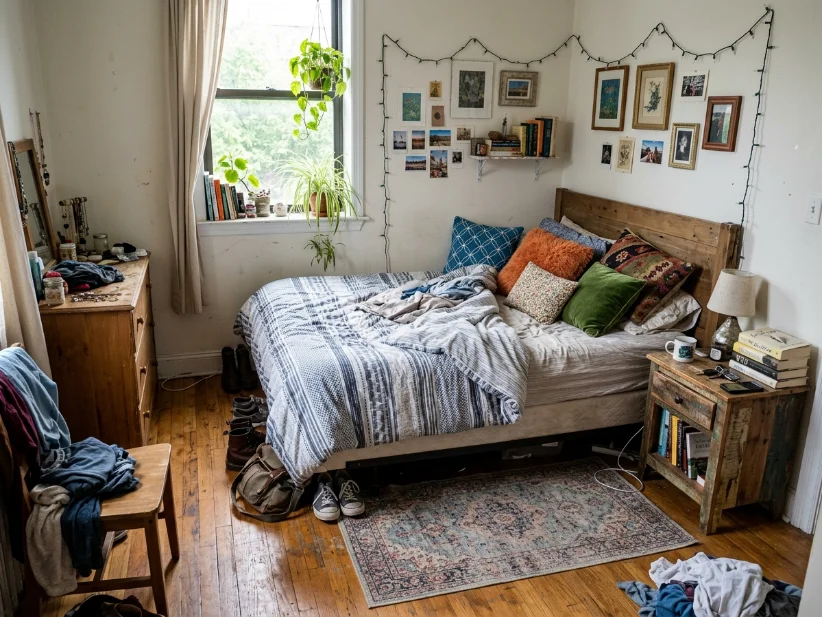
When we moved in, I made the same mistake many people make. I kept buying decorative accessories instead of improving the room itself. I added extra throw pillows and a rug that was far too small. Instead of making the room feel complete, those purchases made everything look disconnected.
Mark often asked why the bedroom still felt like a guest room after a year. I honestly didn’t know how to answer. I believed adding more decorations would eventually solve the problem. Instead, the room became cluttered without feeling inviting.
The bedroom already had good features. It offered two east-facing windows, plenty of natural light, and standard eight-foot ceilings. However, nothing connected those features into one cohesive design.
Everything changed after we visited a Pottery Barn showroom. We weren’t shopping that day. We simply wanted inspiration. I noticed every display bedroom used several light sources instead of one ceiling fixture. That single observation completely changed my decorating approach. Instead of buying random accessories, I improved one important feature at a time over several months.
Start With the Bed Instead of Decorations
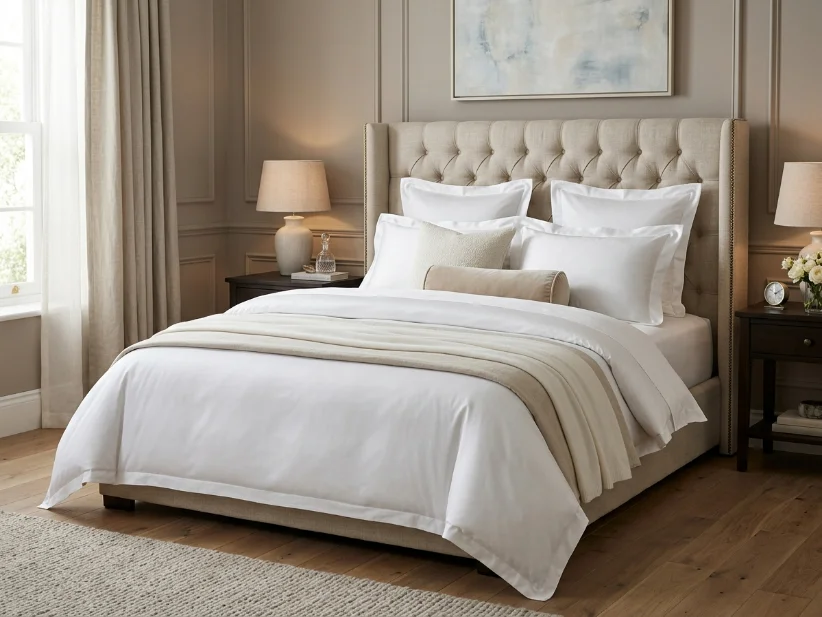
The biggest lesson I learned was simple. A luxurious bedroom starts with the bed itself.
We replaced our old comforter with a duvet set from Boll & Branch. We also upgraded our mattress protector. The queen-size bedding cost about $280, which felt expensive at first. Even my mother-in-law thought I had spent too much. However, the smooth sateen fabric instantly made the bed look more elegant. More importantly, it made every night feel more comfortable.
If that price doesn’t fit your budget, Target’s Threshold sateen bedding offers excellent value. It costs under $70 and delivers a very similar appearance. We use it in our guest room, and most visitors never notice the difference.
The next upgrade was an upholstered headboard from Wayfair. It replaced our old metal frame and completely changed the room’s appearance. We chose a soft boucle fabric for about $340. Unfortunately, our cat Biscuit decided it made a perfect scratching post. Looking back, I would recommend choosing a durable performance fabric if you have pets.
Layer the Lighting
Lighting made the biggest difference in our bedroom makeover.
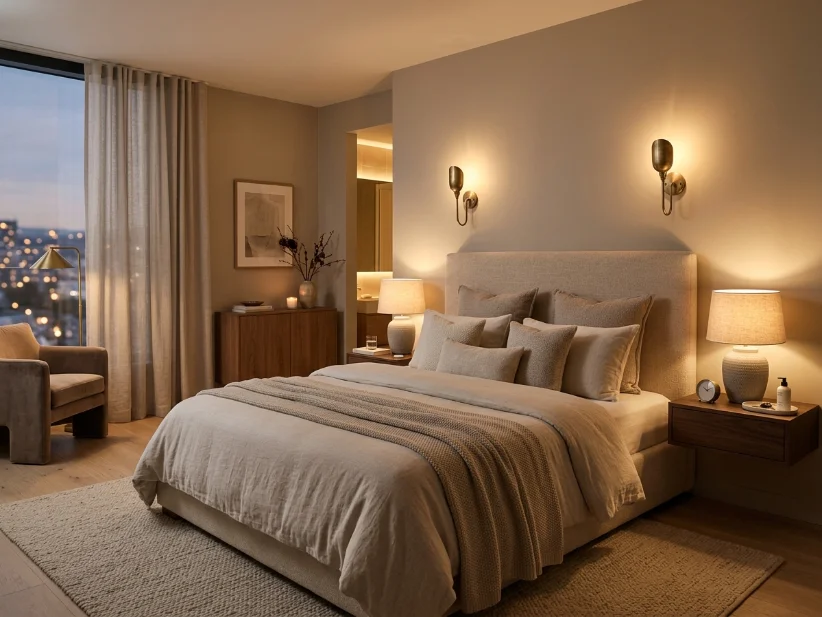
For years, we relied on one ceiling fixture. The room always felt flat and uninviting. Luxury hotel rooms never depend on a single light source, and neither should your bedroom.
We installed two brass sconces beside the headboard. Each fixture cost about $45 at Home Depot. We connected them to a dimmer switch for adjustable brightness.
Later, I found two ceramic table lamps at HomeGoods for only $38. That lucky purchase completed the lighting plan without stretching our budget.
Changing the light bulbs also transformed the room. We replaced our bright 5000K daylight bulbs with warm 2700K bulbs. Suddenly, the bedroom felt calm, cozy, and relaxing. That inexpensive change created one of the biggest improvements.
Choose the Right Rug Size
Buying the wrong rug was one of my biggest decorating mistakes.
Our first rug looked tiny beneath the bed. Instead of anchoring the furniture, it made the room appear smaller and unbalanced.
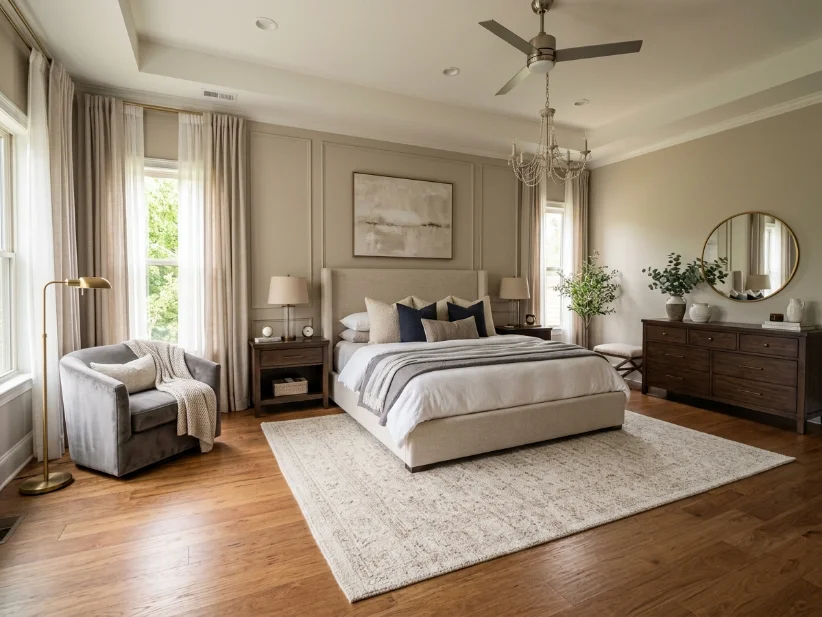
Eventually, I purchased an 8×10 rug from Article during a sale for about $280. It still felt like a significant purchase. However, custom wool rugs at local stores cost closer to $900, making the sale price much easier to justify.
The sizing rule I wish I had known earlier is simple. Your rug should extend at least 18 inches beyond both sides of the bed. That extra space helps the furniture feel connected and balanced.
If your budget is limited, consider placing a 5×7 rug under the front two-thirds of the bed. Leaving the remaining floor exposed often looks cleaner than using a rug that is too small.
Upgrade Your Window Treatments
For years, our bedroom had nothing except plain white blinds. The windows worked well, but they added no warmth or softness.
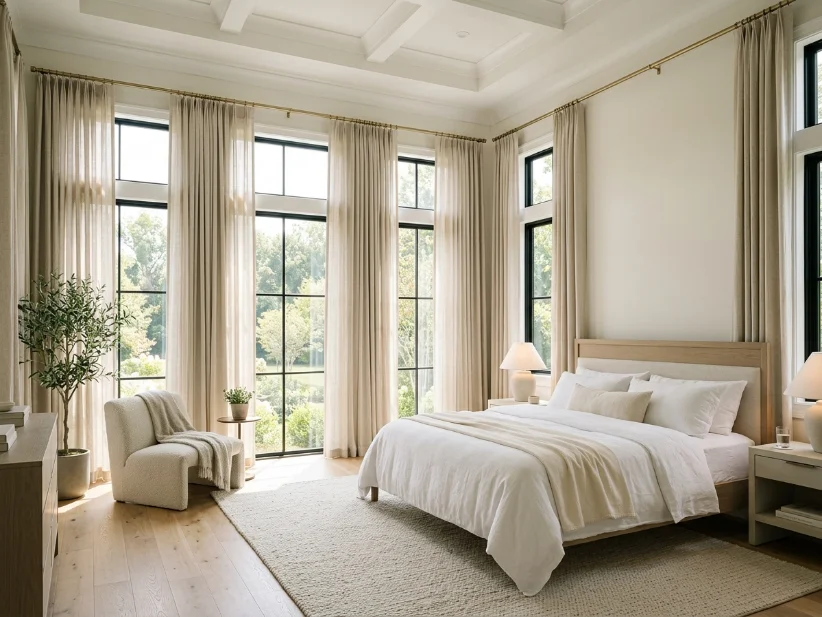
Installing full-length curtains completely changed the space. I chose linen-blend curtain panels from World Market for about $60 per pair. Instead of mounting the rod directly above the window, I placed it six inches higher. That small adjustment made our eight-foot ceilings appear noticeably taller.
We also added blackout lining because our west-facing windows receive intense afternoon sunlight. During summer, that extra layer keeps the bedroom cooler and much more comfortable.
The DIY Project That Tested My Patience
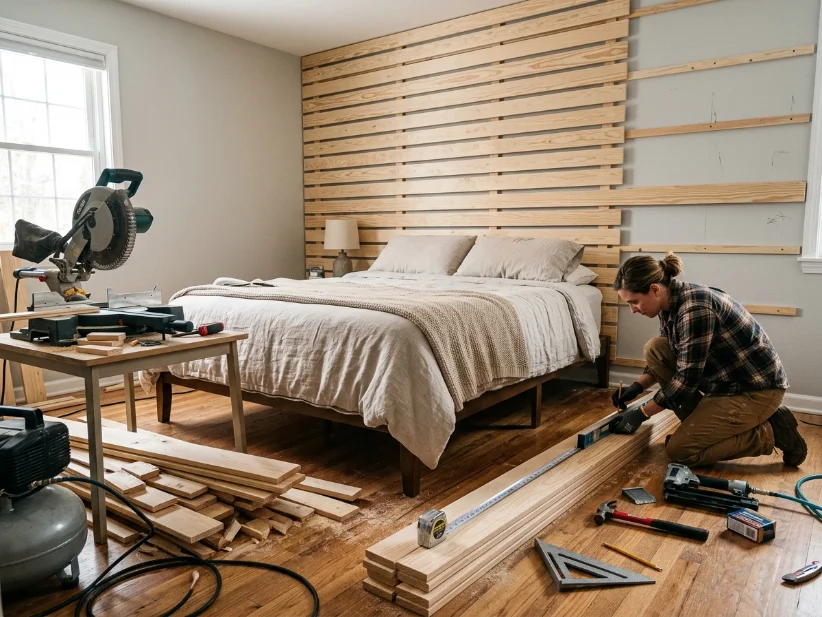
I always wanted a wood accent wall behind the bed. The design appeared in countless luxury bedroom ideas online, so I finally decided to build one myself.
I bought pine boards from Lowe’s and planned a simple vertical slat wall. Everything seemed straightforward until I realized I had measured the spacing incorrectly. By the third hour, the pattern looked uneven across one side of the wall.
I removed four boards and started again. Unfortunately, I had already cut two boards too short, so another trip to Lowe’s became necessary. What should have taken one afternoon turned into a two-weekend project.
Even with those mistakes, the finished result was worth the effort. I stained the boards a warm walnut color, and the wall became my favorite feature in the room. Including the wasted lumber, the entire project cost about $210.
What I Would Do Differently
Looking back, I would spend less money on decorative pillows. Instead, I would invest in quality lighting much earlier.
I also regret painting the walls a trendy greige color in 2022. In our north-facing room, the paint looked almost purple. Fixing that mistake required two coats of Sherwin-Williams primer and an entire weekend of repainting.
Another lesson involved curtain length. I ordered my first set from Amazon without measuring carefully. They ended six inches above the floor and looked awkward. Measuring before ordering would have saved both time and money.
Living With the Finished Room
Two years later, our bedroom still feels calm, comfortable, and welcoming.
The upgrades that continue to impress me are the layered lighting, the upholstered headboard, and the properly sized rug. Those timeless choices still look beautiful every day.
Some trendy accessories I loved a few years ago already feel outdated. That experience taught me an important lesson. Investing in quality foundation pieces creates a room that lasts much longer than following every new decorating trend.
I’m not an interior designer. I’m simply someone who made plenty of decorating mistakes before finally getting it right. Hopefully, sharing those lessons helps you create a luxury bedroom without spending a renovation-sized budget.
Final Thoughts
If you’re planning your own bedroom makeover, start with one upgrade at a time instead of trying to change everything at once. Small improvements often create the biggest impact over time.
Which upgrade made the biggest difference in your bedroom? Share your experience or favorite tip in the comments below. If you found these ideas helpful, save this post for later and explore our related bedroom decor guides for more budget-friendly inspiration.
