If your kitchen feels dated but a full renovation isn’t in the budget, a few well-chosen brass accents can make a surprising difference. In this post, I’ll share the simple changes I made in our late-1990s kitchen, what worked, what didn’t, and how much I spent along the way. You’ll see how I used brass hardware, lighting, and small accessories to add warmth without replacing the cabinets or changing the entire room.
For the first year in our house, I couldn’t figure out why I disliked our kitchen. Everything matched on paper. We had cream cabinets, white counters, and stainless-steel appliances. Yet the room still felt flat. It looked more like a rental than a space that belonged to us. The change started when I added a few brass decor accents. I didn’t renovate the kitchen or spend thousands of dollars. I simply added brass one piece at a time. That was when I realized what the room had been missing: warmth. Brass catches the light in a way that makes a space feel more layered and lived-in.
We bought our house outside Charlotte in 2021. It was a late-1990s build, so we inherited plenty of builder-grade details. The kitchen had oak cabinet doors, dull brass-toned hinges, and light fixtures in brushed nickel. Replacing everything was not realistic for our budget. Instead, I started with small changes. I focused on pieces that I could place on a counter, hang on a wall, or replace without major work. That approach taught me something about modern farmhouse style. You don’t always need a full renovation. Sometimes, repeating one finish throughout a room can make everything feel more intentional.
The Problem With Mixing Metals Randomly
My first attempt at adding brass was not very successful. I bought pieces without thinking about how they would work together. I found a $22 brass tray at Target, cabinet knobs online, and a brass mirror frame from HomeGoods. Each item looked good on its own. Together, they looked completely different. The problem was the brass finish. One piece had a warm antique tone. Another looked almost gold. The third had an orange undertone that felt too shiny.
I didn’t realize how noticeable the difference was until my sister-in-law visited. She jokingly asked if I was creating a “garage sale finds” theme. I laughed, but I knew she had a point. Brass is not a single color. It can look pale, golden, warm, aged, or almost bronze. When the finishes are too different, the room can feel messy instead of coordinated.
What I Started Checking Before Buying
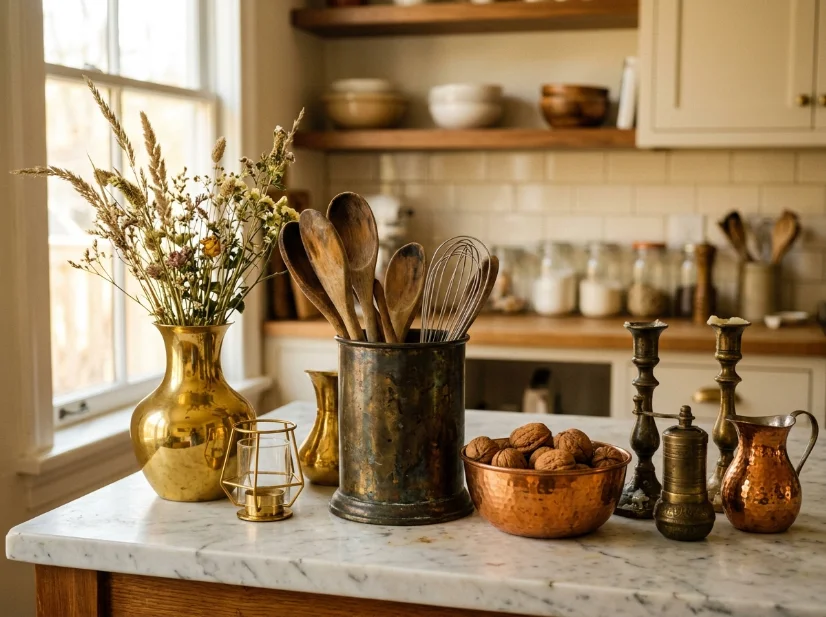
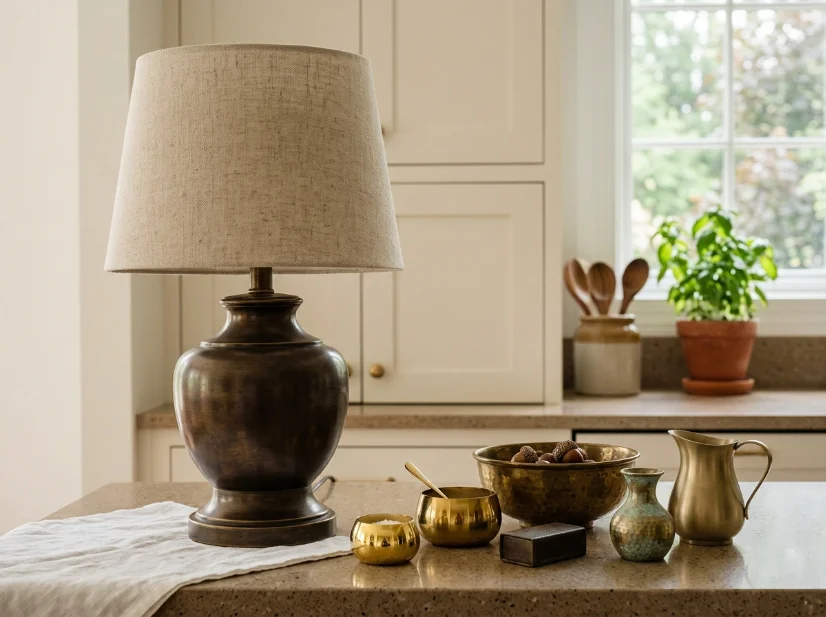
After that mistake, I became much more careful. Before buying a new brass piece, I compared it with something I already liked. My favorite reference piece was a $38 brass table lamp from World Market. I liked its warm, slightly aged finish. If a new item looked noticeably more yellow, orange, or pink than the lamp, I skipped it.
This simple habit made shopping much easier. I stopped trying to match every item perfectly. Instead, I looked for finishes that felt like they belonged in the same family. That small change helped the brass accents look collected instead of random.
What Actually Worked
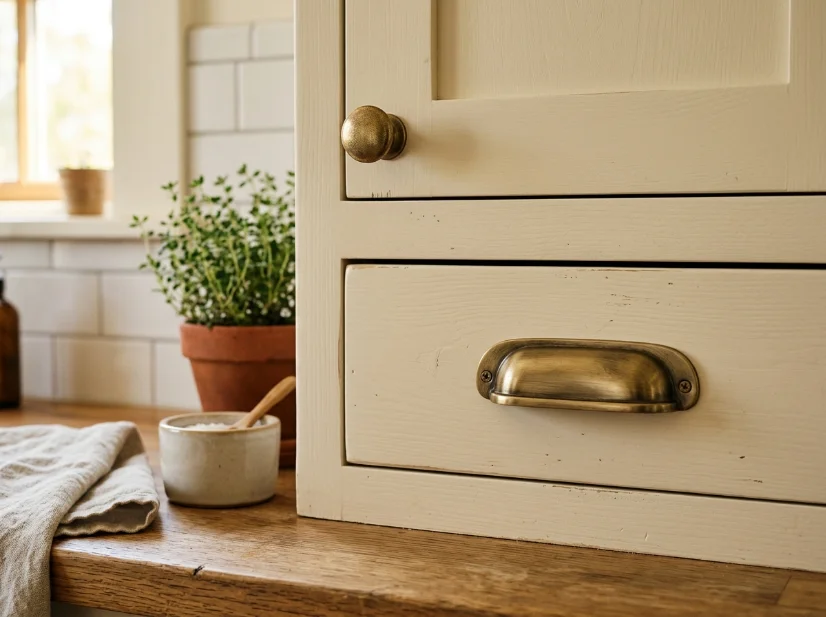
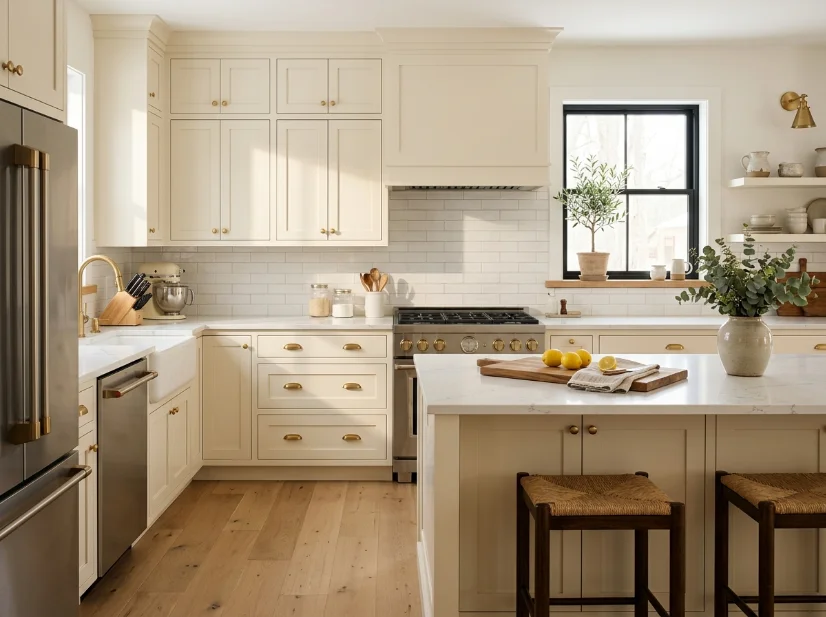
The biggest improvement came from our kitchen hardware. We didn’t replace the cabinets. We simply replaced the knobs and pulls with a mid-weight brass finish from Lowe’s. The total cost was around $140 for the kitchen. That one change made a bigger difference than all the small accessories I had bought before it.
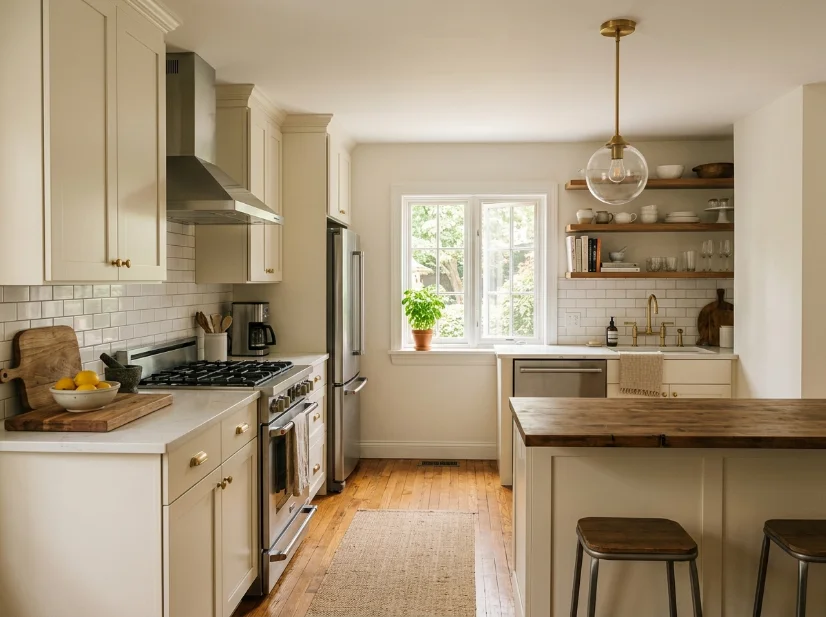
Once the hardware was in place, I had a finish to build around. I added a brass pendant light above the sink for about $95. I also found two candle holders from HomeGoods for around $16 each. In the dining nook, I added matching brass drawer pulls to the buffet. These additions were small, but they repeated the same warm metal throughout the connected spaces.
I also bought a small brass tray for about $24. It sits on our kitchen island and gives everyday items a designated spot. Mark keeps his keys there, while my daughter uses it for her hair clips. It sounds like a tiny detail, but it keeps those little items from spreading across the counter. For me, the best decor changes are the ones that look good and solve a real problem.
Here is what I spent:
- Cabinet knobs and pulls: about $140
- Brass pendant light: $95
- Small brass catch-all tray: $24
- Two votive candle holders: $16 each
- Dining buffet drawer pulls: $32
By spring, the kitchen finally felt like ours. It no longer looked like a staged photo. The brass gave the room more warmth and helped connect the different finishes. There was also one funny downside. Spring is peak pollen season here, and I spent several weeks wiping yellow pollen dust off that brass tray almost every day.
The DIY Project That Didn’t Go As Planned
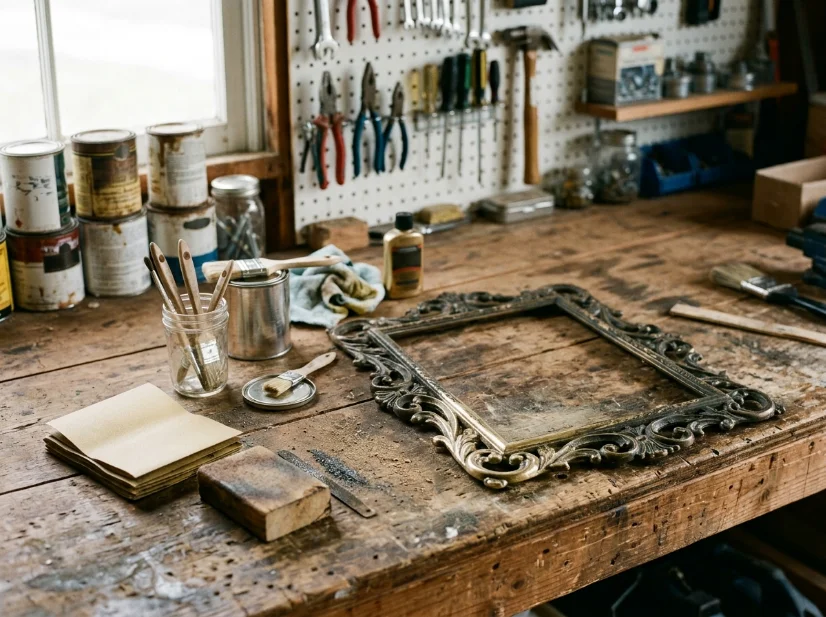
Once I felt confident with brass, I decided to try a small DIY project. I found an old brass mirror frame at our local Goodwill for $9. My plan seemed simple. I wanted to remove the old lacquer, let the brass age naturally, and then protect the finish with a clear coat.
The project did not go as smoothly as I expected. I used a citrus-based stripper from Home Depot. It worked well on the main surface, but some of it collected in the corners. I didn’t notice the problem until the finish had dried. One section looked blotchy and uneven.
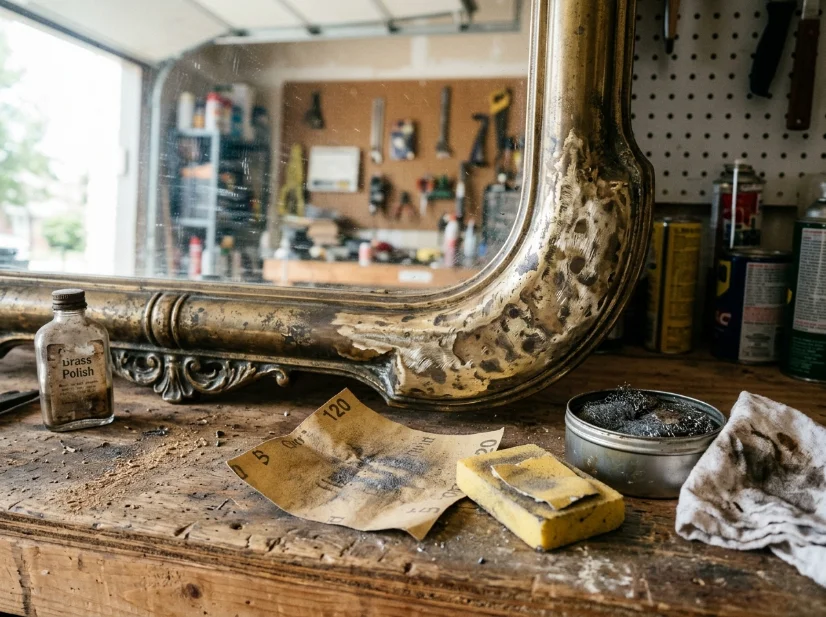
I had to make another trip to Home Depot for finer sandpaper and a small can of clear coat. I also spent about two extra hours sanding the damaged area by hand. The frame eventually turned out well, and it now hangs in our hallway. Still, I learned an important lesson. If you’re refinishing an old metal piece, test the product on a hidden area first. I also recommend working in good lighting. My garage was not bright enough that Saturday afternoon, and I ended up spending far longer on the project than planned.
Keeping It From Looking Overdone
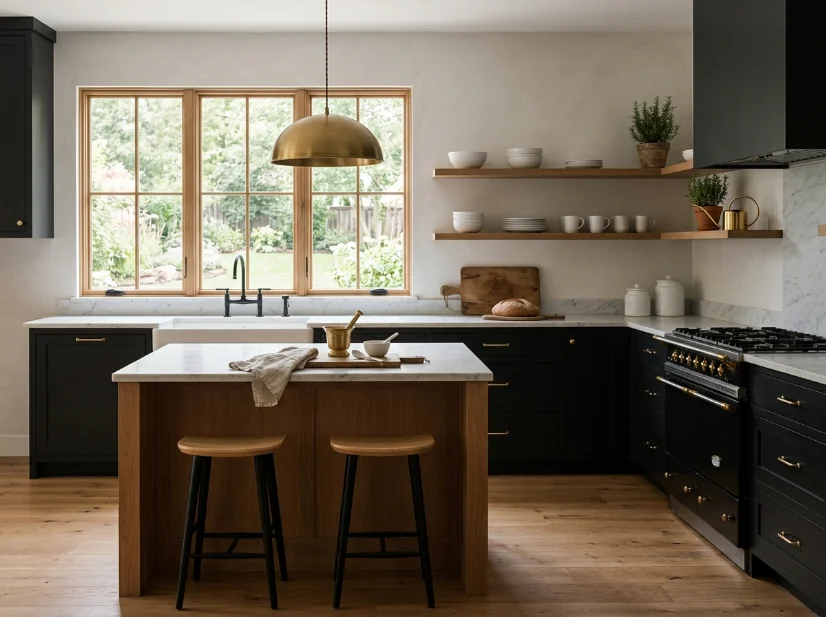
The final lesson took me longer to learn. Brass needs breathing room. Once I liked the warmer look, I wanted to keep adding more. At one point, the kitchen was starting to look like a metal showroom.
The solution was simple. I started limiting brass to a few intentional touchpoints. In each room, I focused on the hardware, one main light fixture, and one or two smaller accessories. Everything else stayed quieter. Warm wood, matte black details, and simple white ceramics helped balance the shine of the brass.
You don’t need to replace everything at once. If your budget is limited, start with the cabinet hardware. It can make a surprisingly large visual difference without requiring a full renovation. Once you’re happy with the finish, you can add a pendant light or a few smaller brass accessories later.
For me, brass worked because it gave our dated kitchen something it had been missing. It added warmth without forcing us into a complete remodel. More importantly, it made the existing pieces feel intentional instead of forgotten. Sometimes, the best kitchen update isn’t a dramatic renovation. It is simply finding one detail that makes the whole room finally make sense.