
9 Stunning Open Kitchen Design Ideas for a Stylish Home
If your old kitchen feels walled off from the rest of your house and a full remodel is not in the budget, this is for you. Below are nine open kitchen design ideas I tried in our Charlotte home, what worked, what I had to redo, and roughly what each cost. Most are weekend projects under two hundred dollars, a few are bigger, and none required a structural engineer. When we bought our place in 2021, the kitchen had that classic older setup with oak cabinets, a half wall opening into the living room, and an island that was more of a small peninsula. It felt closed off in a way that did not match how we live, with my husband Mark working from home, two kids orbiting wherever I am, and our dog Biscuit following the food. We did not have the budget for structural work, so I spent the past few years collecting ideas that do not require knocking down walls. Some worked beautifully, others I learned from in less flattering ways. Here is what stuck.
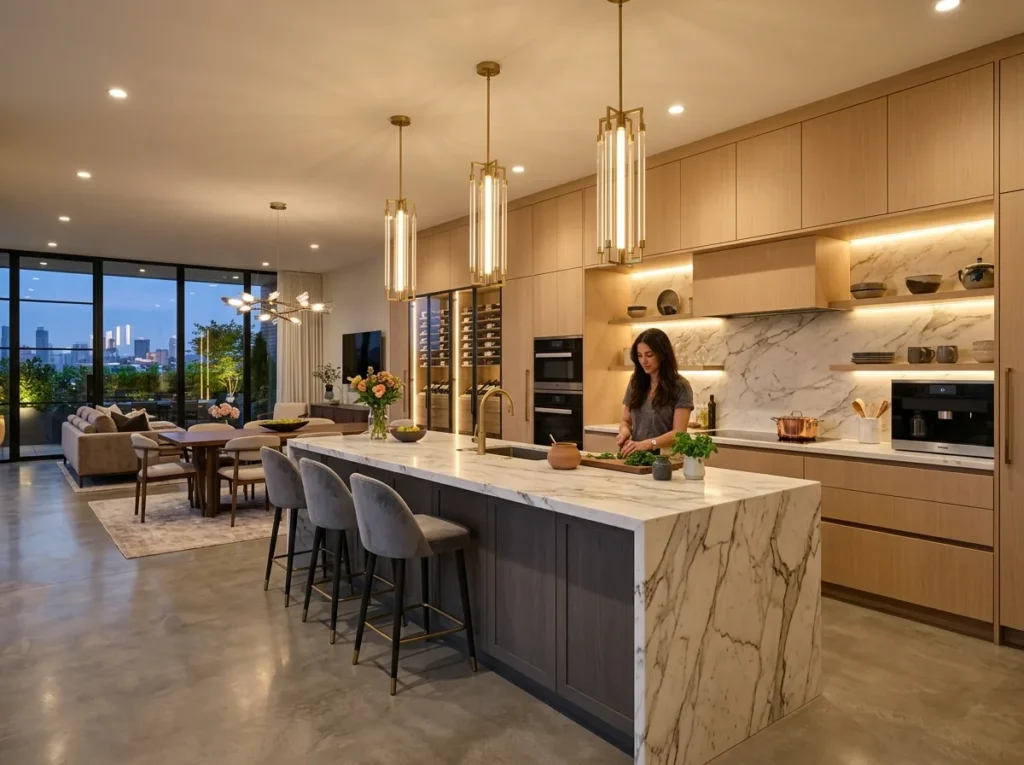
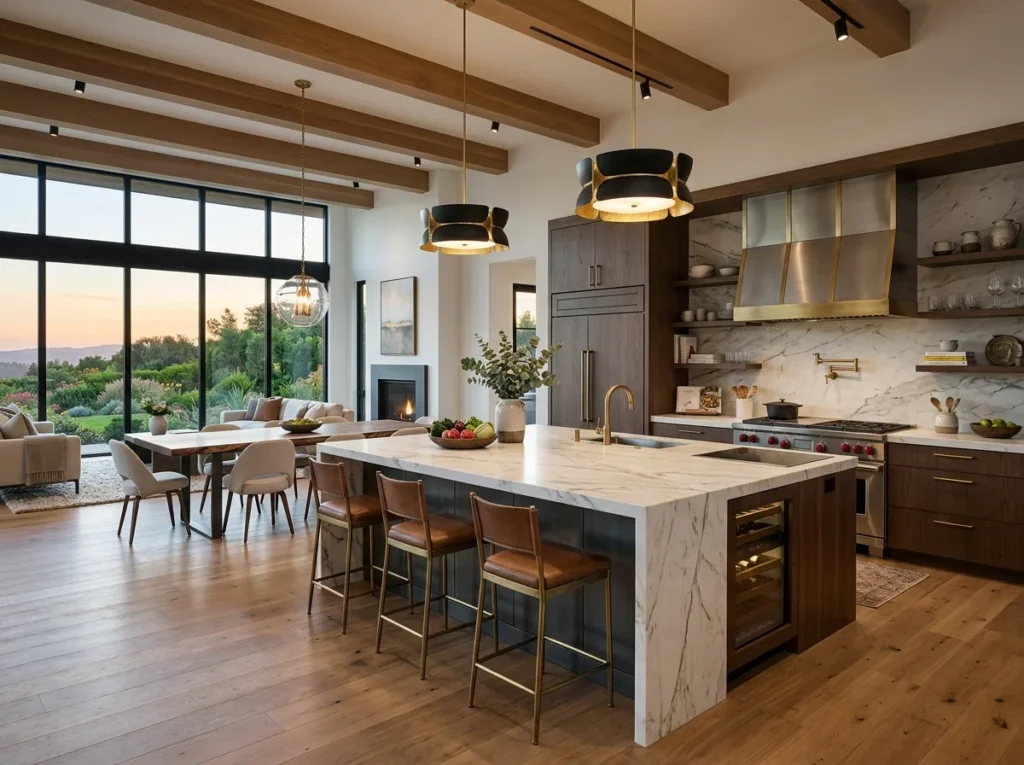
1. Open Up the Sightlines Before You Touch the Layout
The single biggest shift in our kitchen wasnt a wall coming down, it was the upper cabinets coming off the wall between the kitchen and the breakfast nook. Two cabinets, four screws each, about $0 to remove (we kept them in the garage for resale later).
That one change made the room feel almost twice as deep. Light from the nook windows now reaches the sink. I can see the kids at the table while I m cooking. The wall behind where the cabinets sat needed patching and paint, which ran us about $40 in Sherwin Williams trim paint and some spackle from Home Depot.
If you cant remove cabinets (renters, I see you), the next best thing is glass front cabinet doors. I priced replacement doors at a local cabinet shop and they ran $90 120 per door, which adds up fast. A budget version: take the doors off entirely on one upper section and paint the inside the same color as the walls. Free, reversible, and surprisingly effective.
2. Continue the Flooring Across Zones
Our house had vinyl in the kitchen and engineered hardwood in the dining and living areas, with a stupid little metal threshold strip at every transition. Visually, that strip chopped the floor plan into three small rooms instead of one connected space.
When we replaced the kitchen vinyl (it had warped near the dishwasher), I matched the new luxury vinyl plank as closely as I could to the engineered hardwood next to it. It’s not a perfect match. In certain afternoon light you can see the seam. But the continuous run of flooring did more for the open feel than any decorative choice.
What I’d Do Different on the Flooring
If we ever do this again, I’d splurge on the same flooring everywhere from the start. The mismatched but close approach works, but matching would be cleaner. Expect $4 to 7 per square foot for decent LVP at Home Depot or Lowe’s, more for real wood. Budget tip: even a peel and stick LVP run across both rooms beats a hard transition strip.
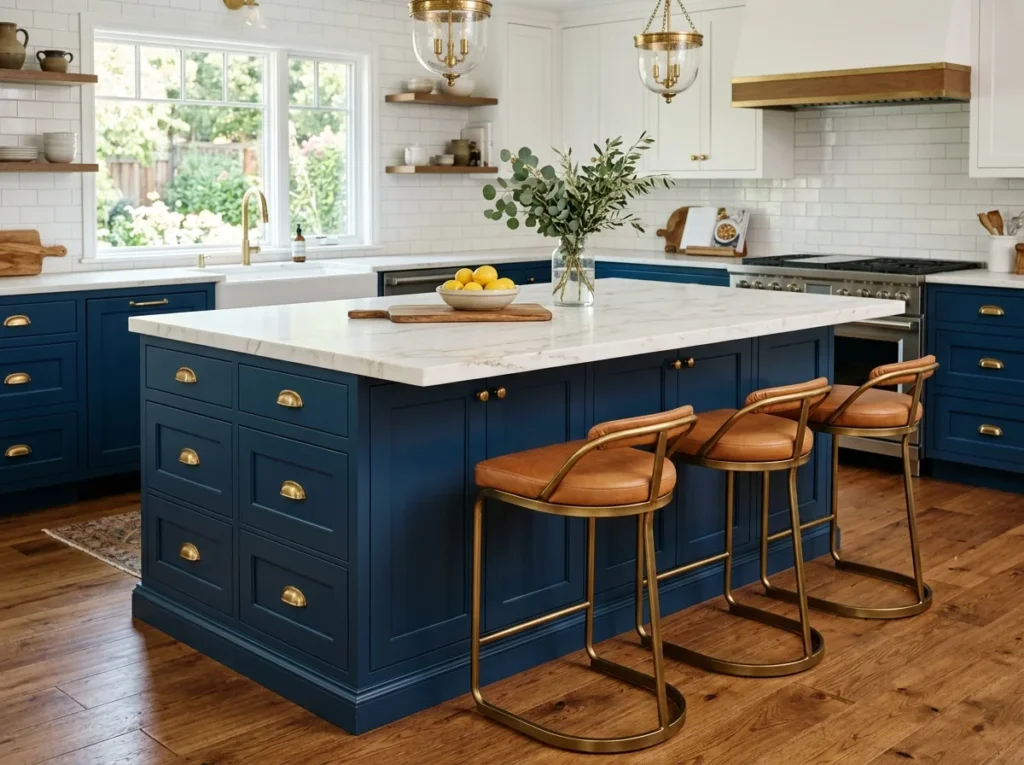
3. Rethink the Island or Peninsula
Our peninsula was originally “builder grade” oak with a tile top. It was the visual heart of the kitchen and also its biggest problem. So I painted it.
This is where I went wrong the first time. I picked a navy that looked great on the swatch and read almost purple under our south facing windows in the afternoon. I lived with it for about six weeks before redoing the whole thing in a deeper, grayer blue. Two coats of primer, two coats of cabinet paint, and a lot of grumbling about why I didn’t just buy more sample pots. Total redo cost: around $75 in paint plus a weekend.
A painted peninsula or island with a contrasting color anchors the open kitchen visually without adding a wall. Bar stools at the counter (we got two at HomeGoods for $89 each) turn it into a hangout spot for the kids during homework and for adults during dinner prep. If a painted island isn’t an option, a butcher block top added over an existing peninsula gives a similar grounding effect for about $120 from Ikea.
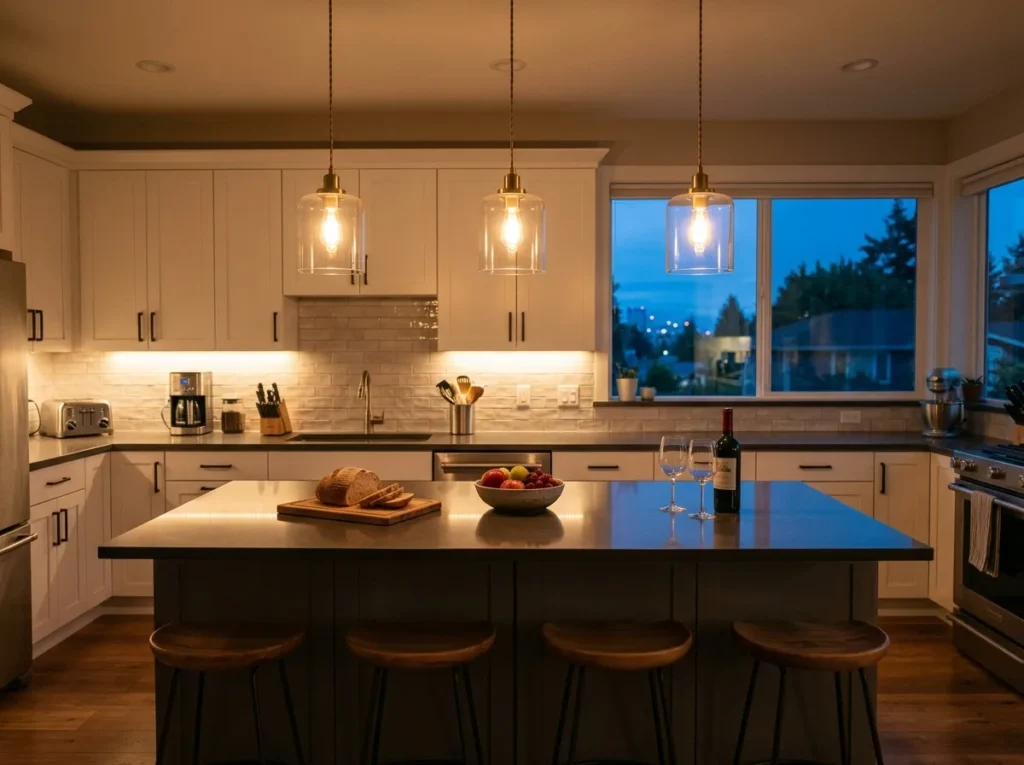
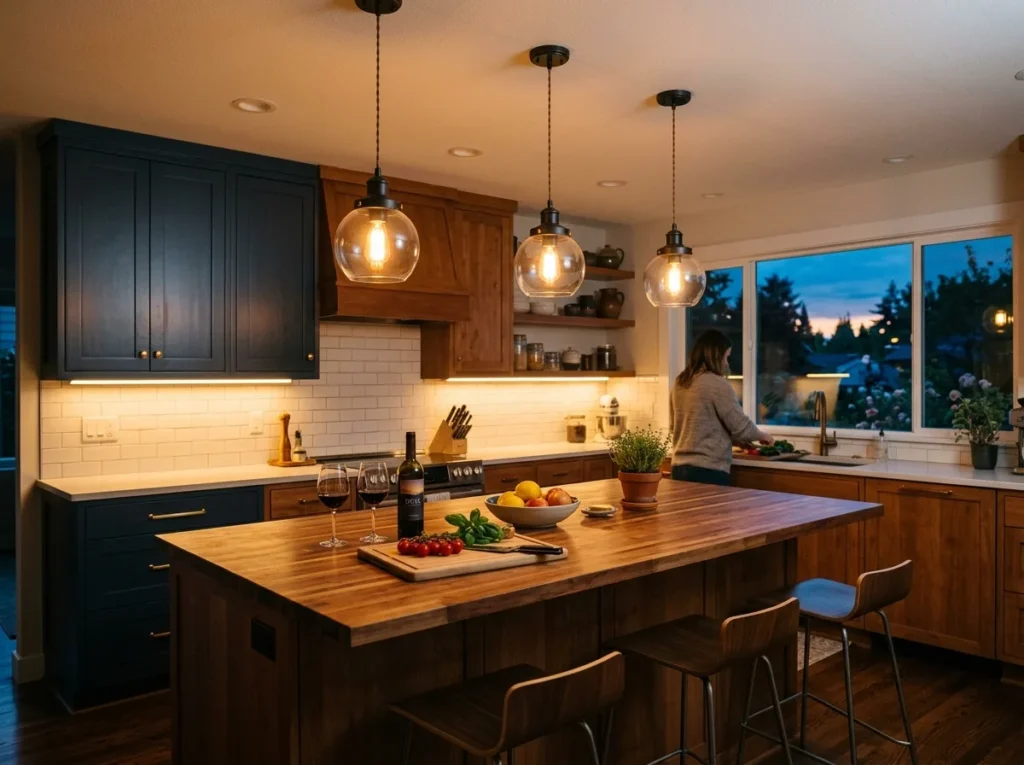
4. Layer Your Lighting
“Builder grade” kitchens almost always have one ugly center light and nothing else. That single light source is part of why these spaces feel like a separate room from the living area, which usually has lamps and dimmers and warm bulbs.
In our kitchen we added:
- Two pendants over the peninsula (Wayfair, around $65 each)
- Under cabinet LED strips (Home Depot, $40 for enough to do the run)
- A dimmer switch on the main overhead
Three layers, all on dimmers where possible. At 7 a.m. on a school morning it’s bright and functional. At 8 p.m. when the kids are in bed and I’m cleaning up, it’s softer and matches the lamp light in the living area. The room reads as one continuous space because the light quality is consistent across both zones.
Use 2700 K bulbs in the kitchen if the rest of your house is warm toned. I made the mistake of buying 4000 K daylight bulbs first, and the kitchen looked like a hospital corridor compared to the living room. Replacement bulbs at Target ran me about $14 for a four pack, which was a cheap fix for an expensive feeling problem.
5. Make Storage Work Harder
The killer of any open kitchen design is visible clutter. Without upper cabinets blocking the view, every coffee maker and toaster becomes part of the living room’s visual landscape.
We did a few things that helped without a full remodel. I added pull out drawer organizers from Ikea (around $14 to 20 each) to make our existing cabinets hold more. The coffee station moved to a small cart from Target ($85) that lives in a corner and rolls into the pantry for parties. Small appliances we don’t use daily went to a high shelf in the laundry room.
One thing I tried and abandoned: open shelving on the now cabinet free wall. It looked beautiful for two weeks. Then March hit, the spring pollen came, and every single mug and bowl had a yellow film on it. In Charlotte’s pollen season, open shelving in a kitchen with windows is a daily dusting commitment I wasn’t going to keep. The shelves came down. The cabinets I’d removed went back up minus the doors, which gave a similar visual lightness without the dust problem.
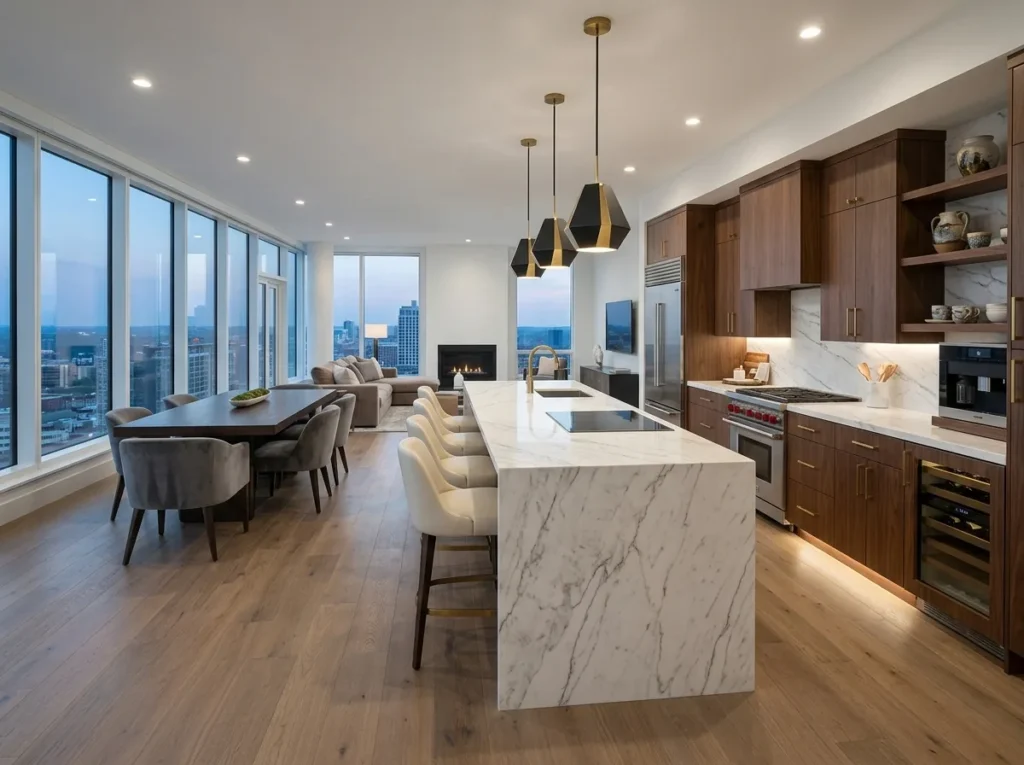
6. Define Zones Without Walls
A common worry with open kitchens is that the whole space turns into one undifferentiated room. The trick is using soft markers instead of hard ones.
A washable runner in front of the sink (ours was about $135 for a 2×7) tells your eye where the kitchen ends. The dining table grounds the eating zone. The couch back, facing away from the kitchen, becomes a soft wall between cooking and lounging. Different lamp heights at different points in the room give your brain reasons to read it as multiple areas.
I’d avoid the all matching, all neutral approach you see in a lot of glossy photos. In a real home where you actually live, you want some visual variety between zones so the eye has somewhere to land. Our kitchen leans a little warmer (wood island top, brass tone hardware) and the living room leans a little cooler (gray sofa, black metal accents), and the rooms still feel connected because the wall color and flooring run continuous. Budget alternative: our local Goodwill had a wool runner for $18 that I used for a year before upgrading.
7. Don’t Skip the Ventilation
This is the unglamorous but critical part. When your kitchen is open to the living room, every meal smells live in your sofa cushions. The “builder grade” range hood in our house was basically a fan that recirculated air through a charcoal filter, which is to say, useless.
We had a contractor we hired install a vented range hood that actually pushes air outside. The hood itself ran about $280 from a big box appliance section, and the install (cutting through the exterior wall, ductwork) ran another $400. Not nothing, but it’s the kind of upgrade you feel every single day. If you fry bacon Sunday morning, by Sunday afternoon the living room doesn’t smell like a diner.
Renters or anyone who can’t replace the hood: a window fan in a kitchen window during cooking pulls a surprising amount of odor out. We used one for two years before the hood install. Picked it up at Lowe’s for about $45.
What I’d Do Differently
If I were starting these open kitchen design ideas from scratch, I’d do three things in a different order. I’d sort out the lighting and ventilation first, before touching anything cosmetic, because those are the things that affect how the space functions every day. I’d buy more paint samples and live with them through a full day night cycle before committing. And I’d skip the open shelving experiment entirely in a humid, pollen heavy climate like ours. Beautiful in photos, not so beautiful when you’re wiping down every mug before coffee in April.
One last note: any structural feeling change (removing cabinets, installing a vented hood through an exterior wall, electrical work for new pendants) is worth pricing out with a licensed contractor or electrician before you DIY. I’m comfortable painting and swapping out fixtures. Cutting a hole through my exterior wall for the range hood ductwork was not on my list.
A Few Things to Take With You
You don’t need a sledgehammer or a $40,000 remodel to get most of the open feel people love about modern kitchens. A lot of it is about light, sightlines, and getting the visual clutter under control. Start with the changes that are reversible (paint, lighting, rugs) and save the structural calls for when you’ve lived with the smaller shifts long enough to know what you actually need. If you’ve got an awkward 1990s kitchen like ours, I’d love to hear what you’ve tried. Email me through the contact page and I’ll write back. These projects are always more fun to talk through with someone who’s also figured out the hard parts.
Frequently Asked Questions
Can you make a kitchen feel open without removing walls?
Yes, and most of what I did didn’t involve removing any walls at all. Taking down upper cabinets, continuing flooring across rooms, layering lighting, and choosing the right island color do most of the work. Actual wall removal is expensive and usually requires a structural engineer to check for load bearing.
What’s the cheapest way to start with open kitchen design ideas?
Lighting and paint. A dimmer switch costs about $15, a new warm bulb costs a few dollars, and a gallon of cabinet paint runs $40 to 60. These three changes can shift the feel of a kitchen more than people expect. Save bigger changes (flooring, hood, cabinet work) for when the budget allows.
Do open kitchens really get smelly?
They can, especially with daily cooking and a weak range hood. A properly vented hood with at least 400 CFM helps a lot. Keeping a window cracked during cooking, washing dish towels often, and avoiding heavy frying right before guests come over are simple habits that make a real difference.
Will an open kitchen hurt my home’s resale value?
Most buyers in 2024 to 2026 prefer open layouts, so usually it helps rather than hurts. That said, what counts as open varies by region and price point. For specific resale questions, talking to a local real estate agent who knows your area’s market is more reliable than general advice. I’m not qualified to give you a number.
How do I keep an open kitchen from looking cluttered?
Cut your countertop items in half. Then in half again. Whatever’s left, see if any of it can live in a drawer instead. The visual rule is that anything sitting out in an open kitchen is also sitting out in your living room. That changes the calculation on whether the stand mixer really earns its spot.
What lighting temperature works best in open kitchens?
Warm bulbs in the 2,700 to 3,000 kelvin range usually work in most homes, especially if the adjacent living areas use warm bulbs. The cooler daylight bulbs (around four thousand to five thousand kelvin) make kitchens look clinical next to a softly lit living room. Keeping the light temperature consistent across zones is one of the simplest fixes for making the whole space feel cohesive.

Written by