
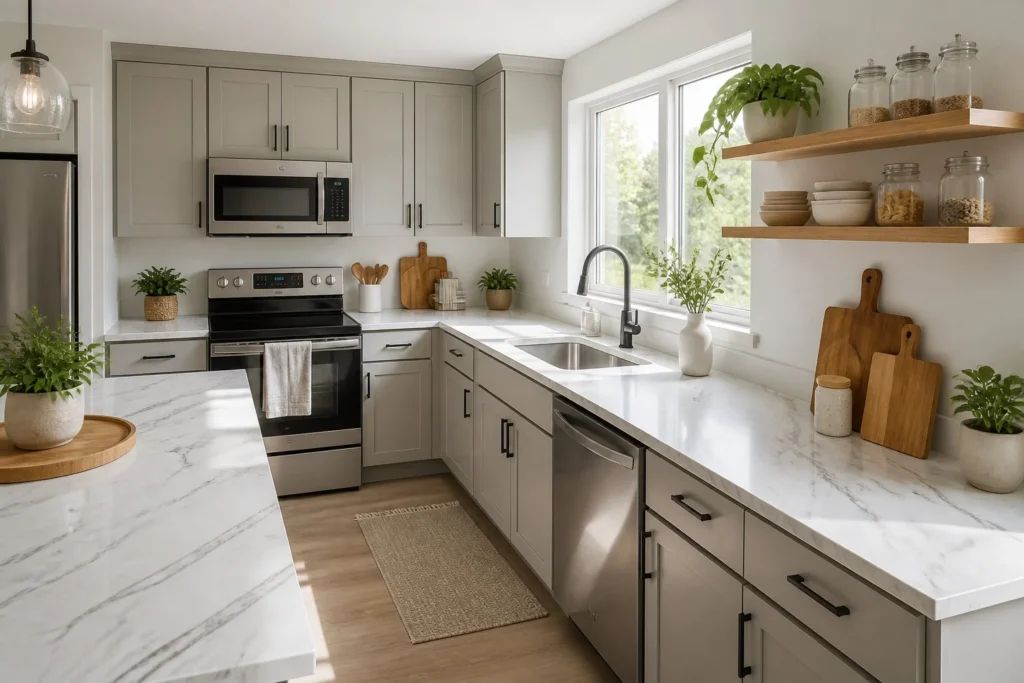
Outdated countertops can make an entire kitchen feel dated, especially in a rental where permanent renovations aren’t allowed. The good news is that you don’t need a major remodel to give your countertops a fresh new look. In this guide, you’ll learn practical, renter-friendly ways to upgrade kitchen countertops using removable materials, smart styling tricks, and budget-conscious solutions that won’t put your security deposit at risk.
What You’ll Need
- Isopropyl alcohol (70% or higher)
- Clean microfiber cloths
- Mild dish soap and warm water
- Removable peel-and-stick countertop film
- Squeegee or old credit card
- Scissors
- Utility knife with fresh blades
- Measuring tape
- Optional waterproof edge tape or removable caulk
Step 1: Know Your Lease Rules
Before starting any countertop upgrade, review your lease agreement. Some landlords allow removable decorative changes, while others have stricter rules.
For renters, the safest countertop refresh options include:
- Peel-and-stick countertop film
- Decorative cutting boards and overlays
- Countertop accessories and styling
- Temporary lighting upgrades
If your countertops have deep scratches, water damage, or bubbling laminate, skip the film and focus on decorative accessories instead. Surface imperfections often show through adhesive coverings.

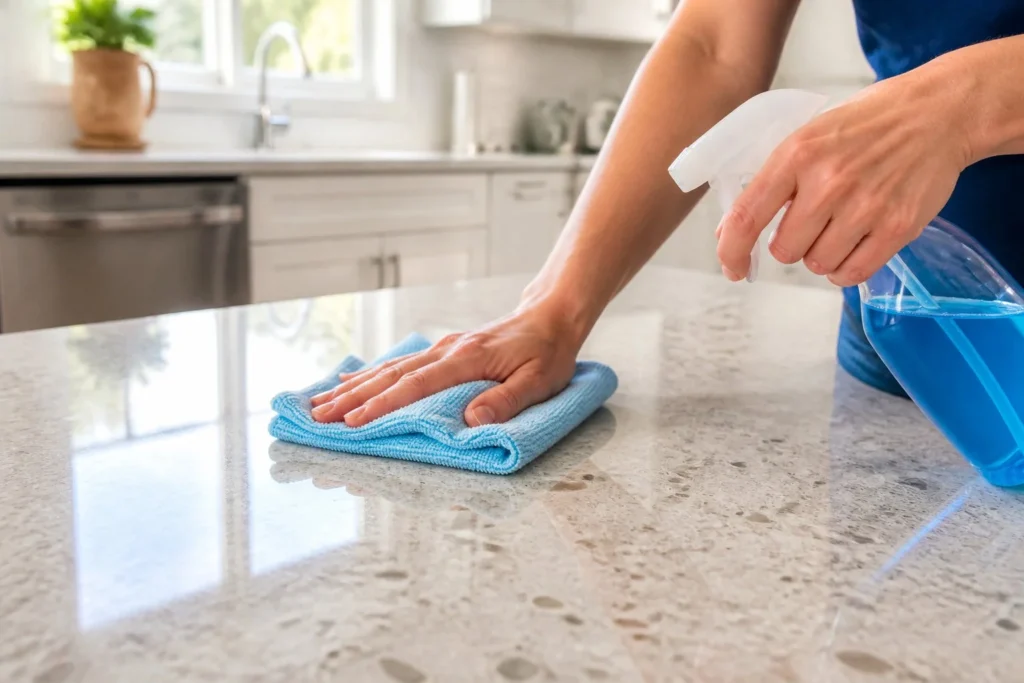
Step 2: Clean the Countertops Thoroughly
Proper preparation is essential for a smooth and long-lasting finish.
Start by washing the countertops with warm water and dish soap to remove grease and dirt. Once dry, wipe the entire surface with isopropyl alcohol to remove any remaining residue.
Allow the countertops to dry completely before moving on. Any moisture trapped beneath the film can cause bubbles or poor adhesion.
Inspect seams and edges for uneven spots. If necessary, use removable caulk to smooth small gaps before applying the film.
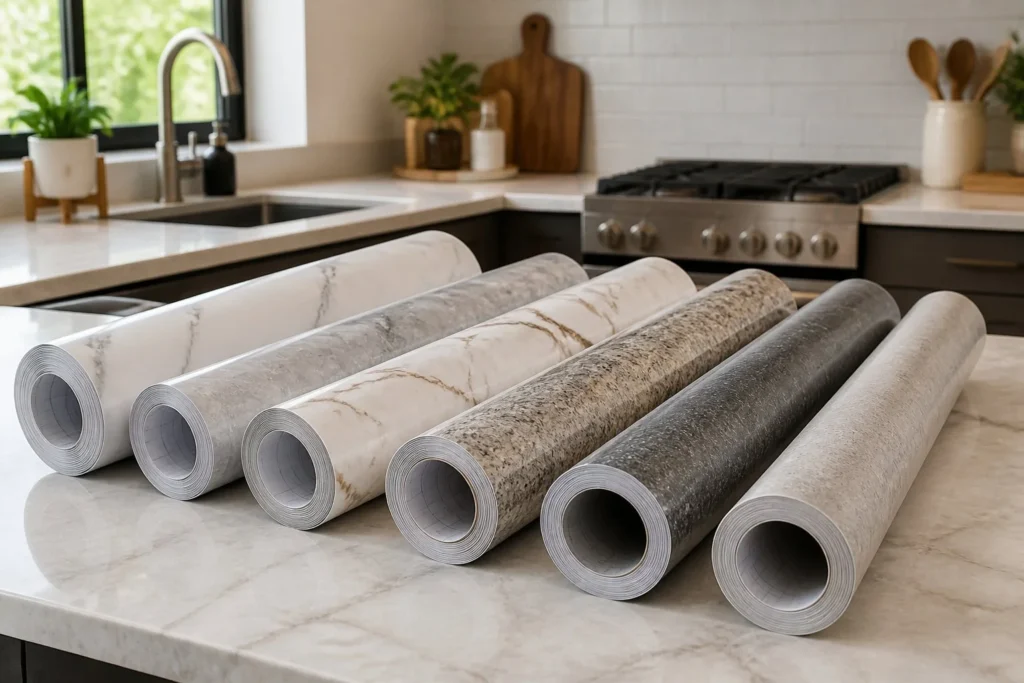
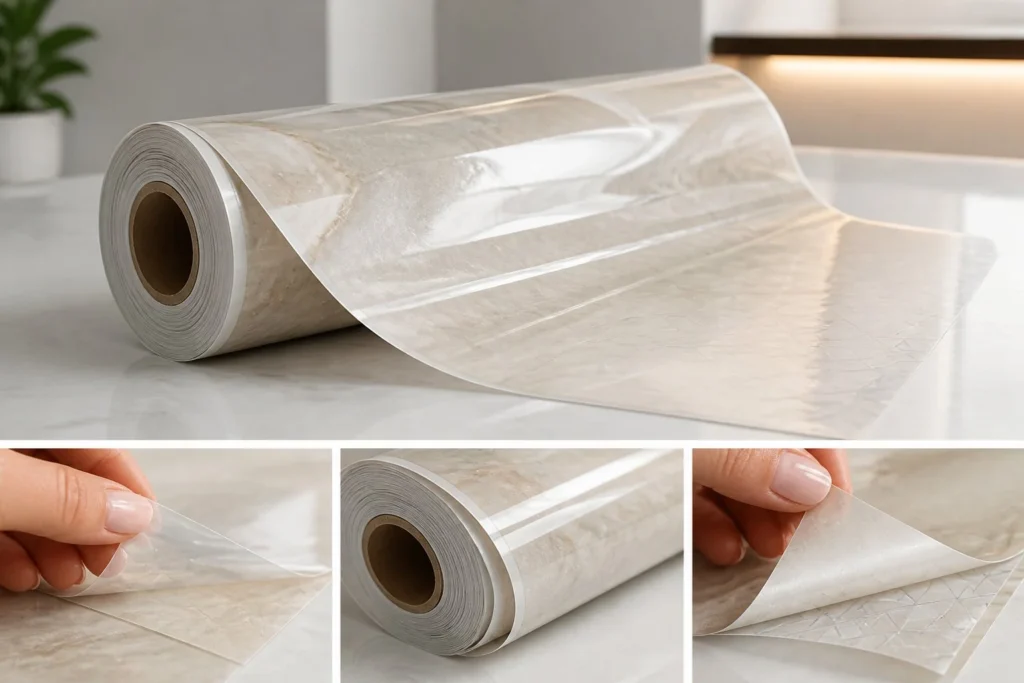
Step 3: Choose Quality Peel-and-Stick Film
Not all adhesive films are designed for countertops. Standard contact paper often peels quickly, tears easily, and may leave residue behind.
Instead, choose countertop film that is:
- Removable
- Heat-resistant
- Water-resistant
- Designed specifically for kitchen surfaces
Subtle marble, stone, and concrete patterns tend to look the most realistic while hiding everyday wear and dust better than solid colors.
Budget-Friendly Alternative
If countertop film isn’t in your budget, consider using large wooden cutting boards or butcher block boards. These cover a significant portion of the countertop and instantly create a warmer, more updated appearance without any installation.
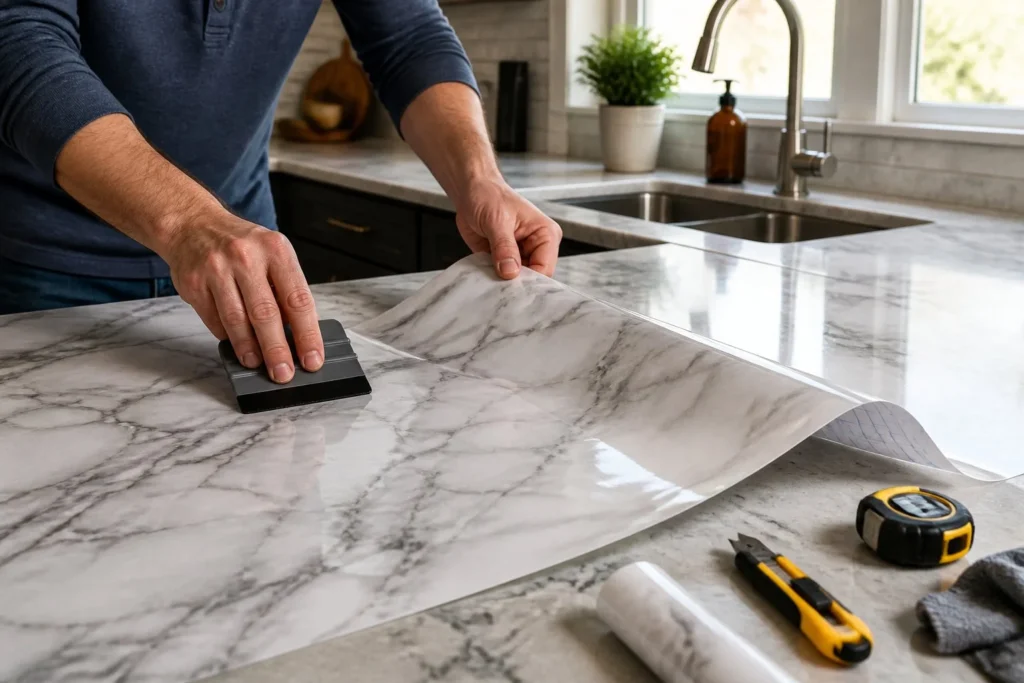
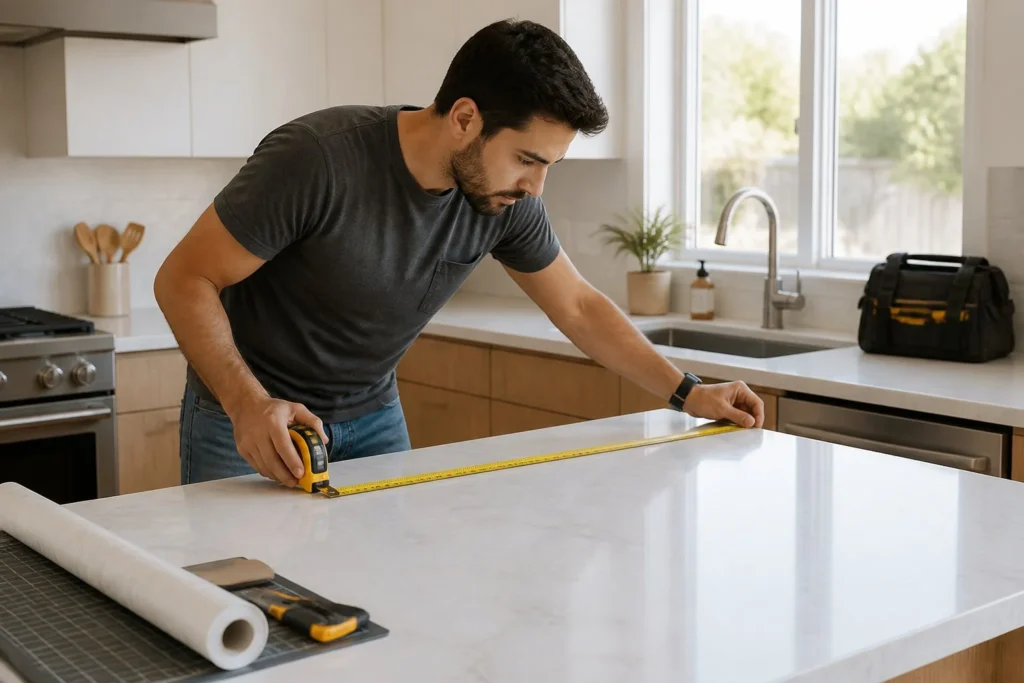
Step 4: Apply the Film Carefully
Measure the countertop and cut the film slightly larger than needed.
Peel back a small section of the backing and align the film along the back edge of the counter. Slowly remove the backing while smoothing the film with a squeegee or credit card.
Work from the center outward to prevent air bubbles.
When trimming around edges, corners, or sinks, use a sharp utility knife and make slow, controlled cuts for the cleanest results.
For sink areas, consider adding waterproof edge tape to prevent water from reaching the adhesive underneath.
After installation, smooth the entire surface one final time and allow the adhesive to set for 24 hours before regular use.
Important Tip
Even heat-resistant films can be damaged by hot cookware. Always place hot pots and pans on trivets or heat-resistant pads rather than directly on the surface.
Step 5: Style the Countertops for a Finished Look
Accessories help complete the transformation and draw attention away from older countertop details.
Consider adding:
- A decorative wooden or marble board
- A tray for oils, spices, and small kitchen essentials
- Under-cabinet LED lighting
- A ceramic utensil holder
- Small plants or greenery
These simple additions make the kitchen feel more intentional and visually appealing without requiring permanent changes.
Common Mistakes to Avoid
Buying the Cheapest Film Available
Low-quality films often show wear quickly and may be difficult to remove cleanly. Investing in a better-quality product usually delivers better results and lasts longer.
Cutting Without Measuring Carefully
Always measure twice before cutting. Extra material is easier to trim than trying to patch a section that was cut too short.
Skipping a Test Area
Before covering the entire countertop, apply a small test piece in a less visible area. This allows you to check adhesion, appearance, and ease of removal.
Final Thoughts
Refreshing rental kitchen countertops doesn’t require expensive renovations or permanent modifications. With proper preparation, quality removable film, and a few carefully chosen accessories, you can dramatically improve the appearance of your kitchen while keeping your security deposit protected. The key is choosing renter-friendly materials, taking your time during installation, and avoiding shortcuts that could lead to damage later.

